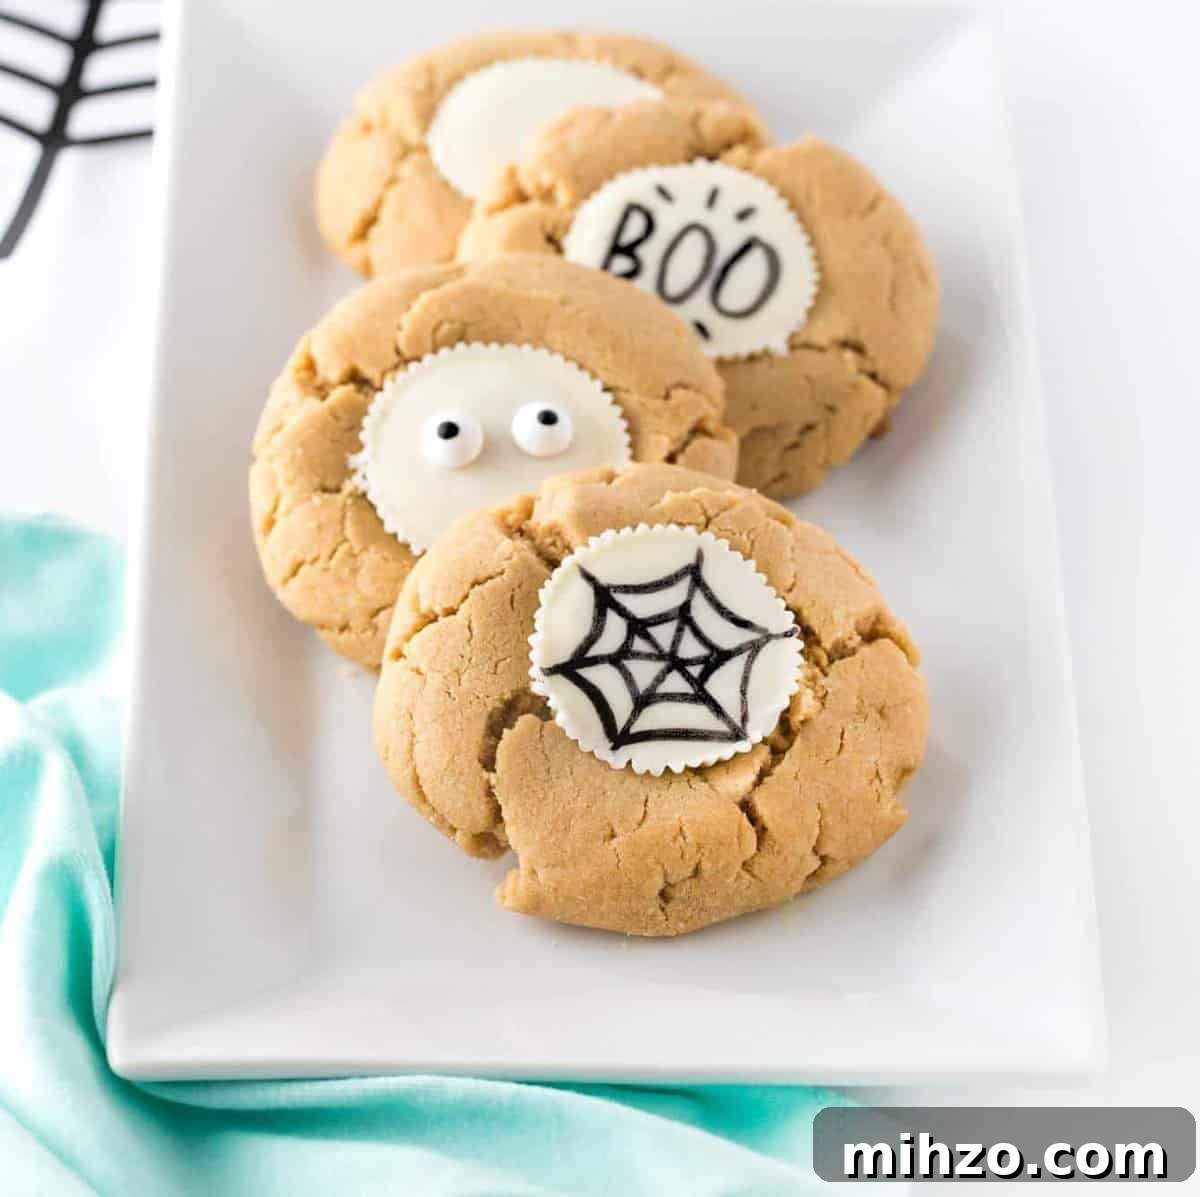
Forget fussy piping and elaborate decorating—grab an edible food marker and make draw-your-own Halloween cookies in minutes. Use a white chocolate peanut butter cup as your canvas and personalize each cookie with spooky faces, tiny icons, or fun phrases for an easy, festive treat.
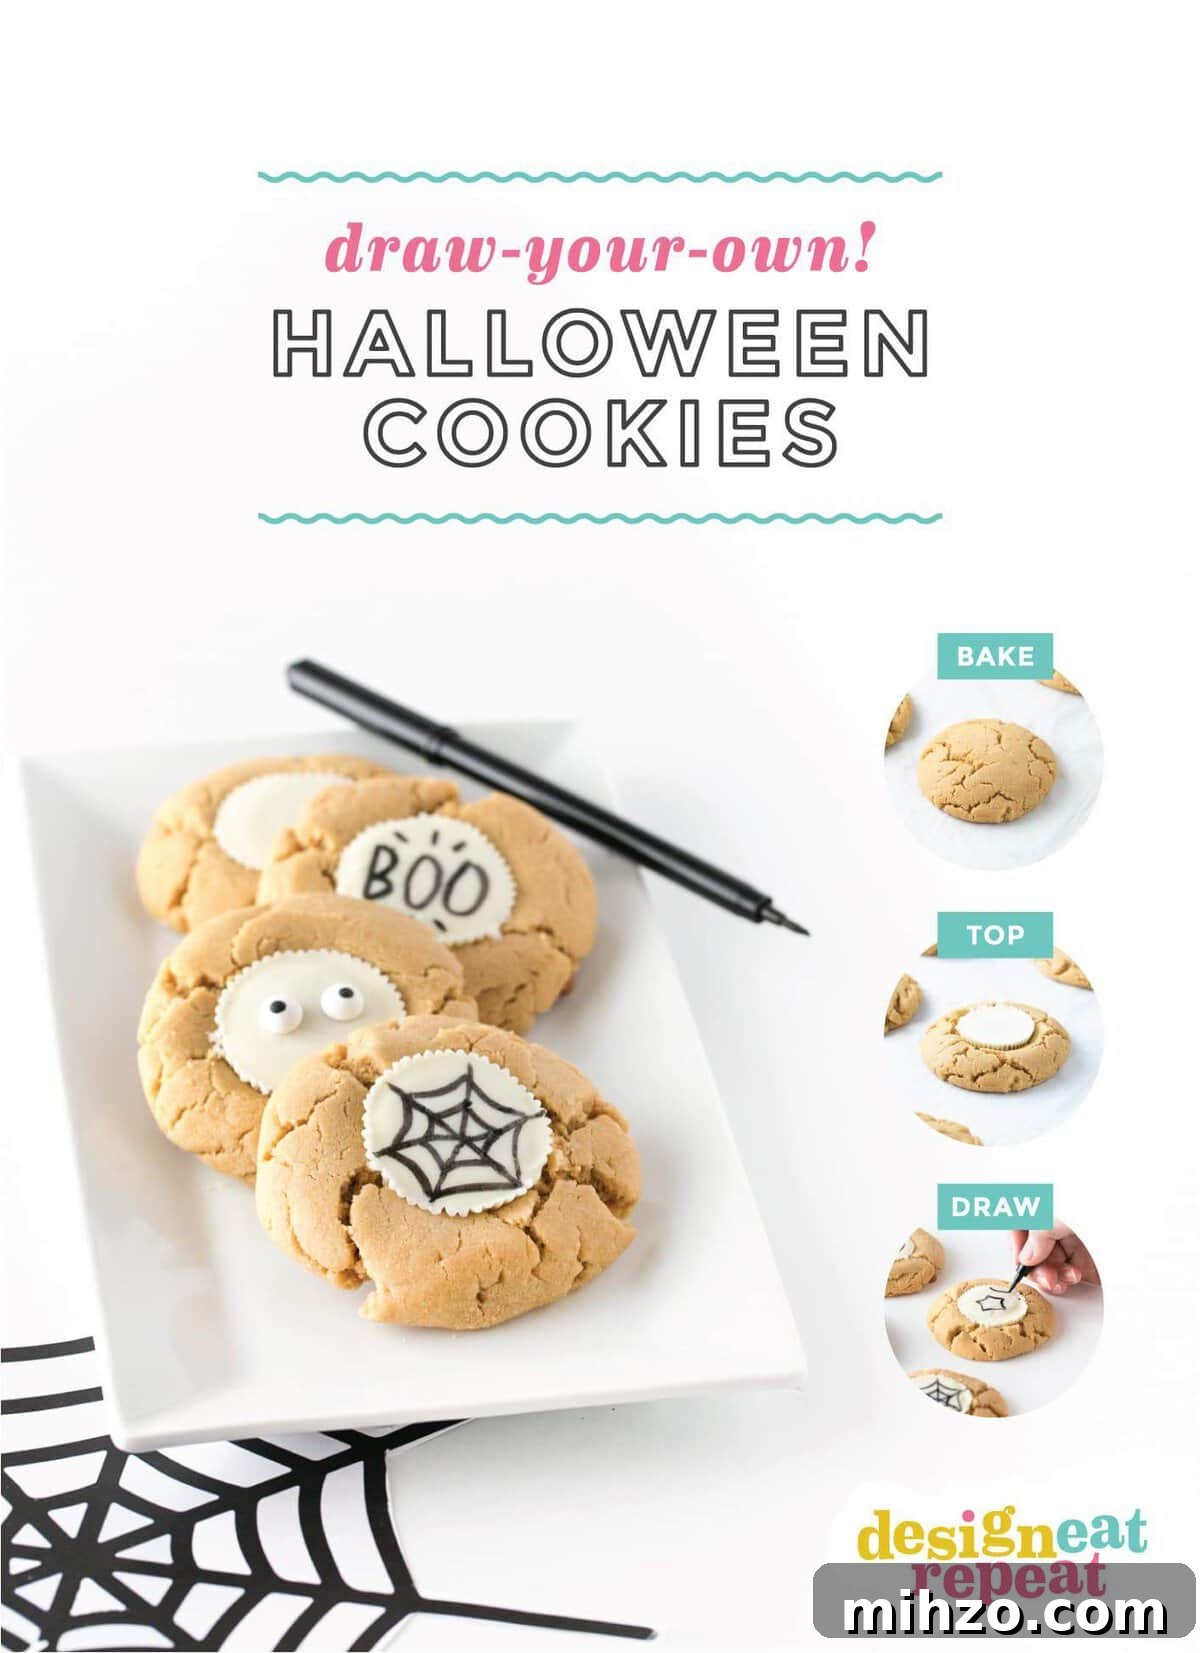
Edible food markers are one of my favorite shortcuts for quick cookie decorating. They let you draw fine details without piping royal icing, and they’re perfect when you want a custom look without spending hours in the kitchen. While I enjoy taking on more intricate cookie projects occasionally, most of the time I prefer recipes that come together fast and still look special. These cookies are one of those wins: simple to make, fun to decorate, and ready to eat in under an hour.
In this version, the cookie base is a soft peanut butter cookie with a full-size white chocolate peanut butter cup pressed into the center right after baking. Once the chocolate has cooled and hardened, use an edible black food marker to draw spider webs, jack-o’-lantern faces, ghosts, or short Halloween phrases. You can also press candy eyeballs into the still-warm chocolate for a quick, cute look.
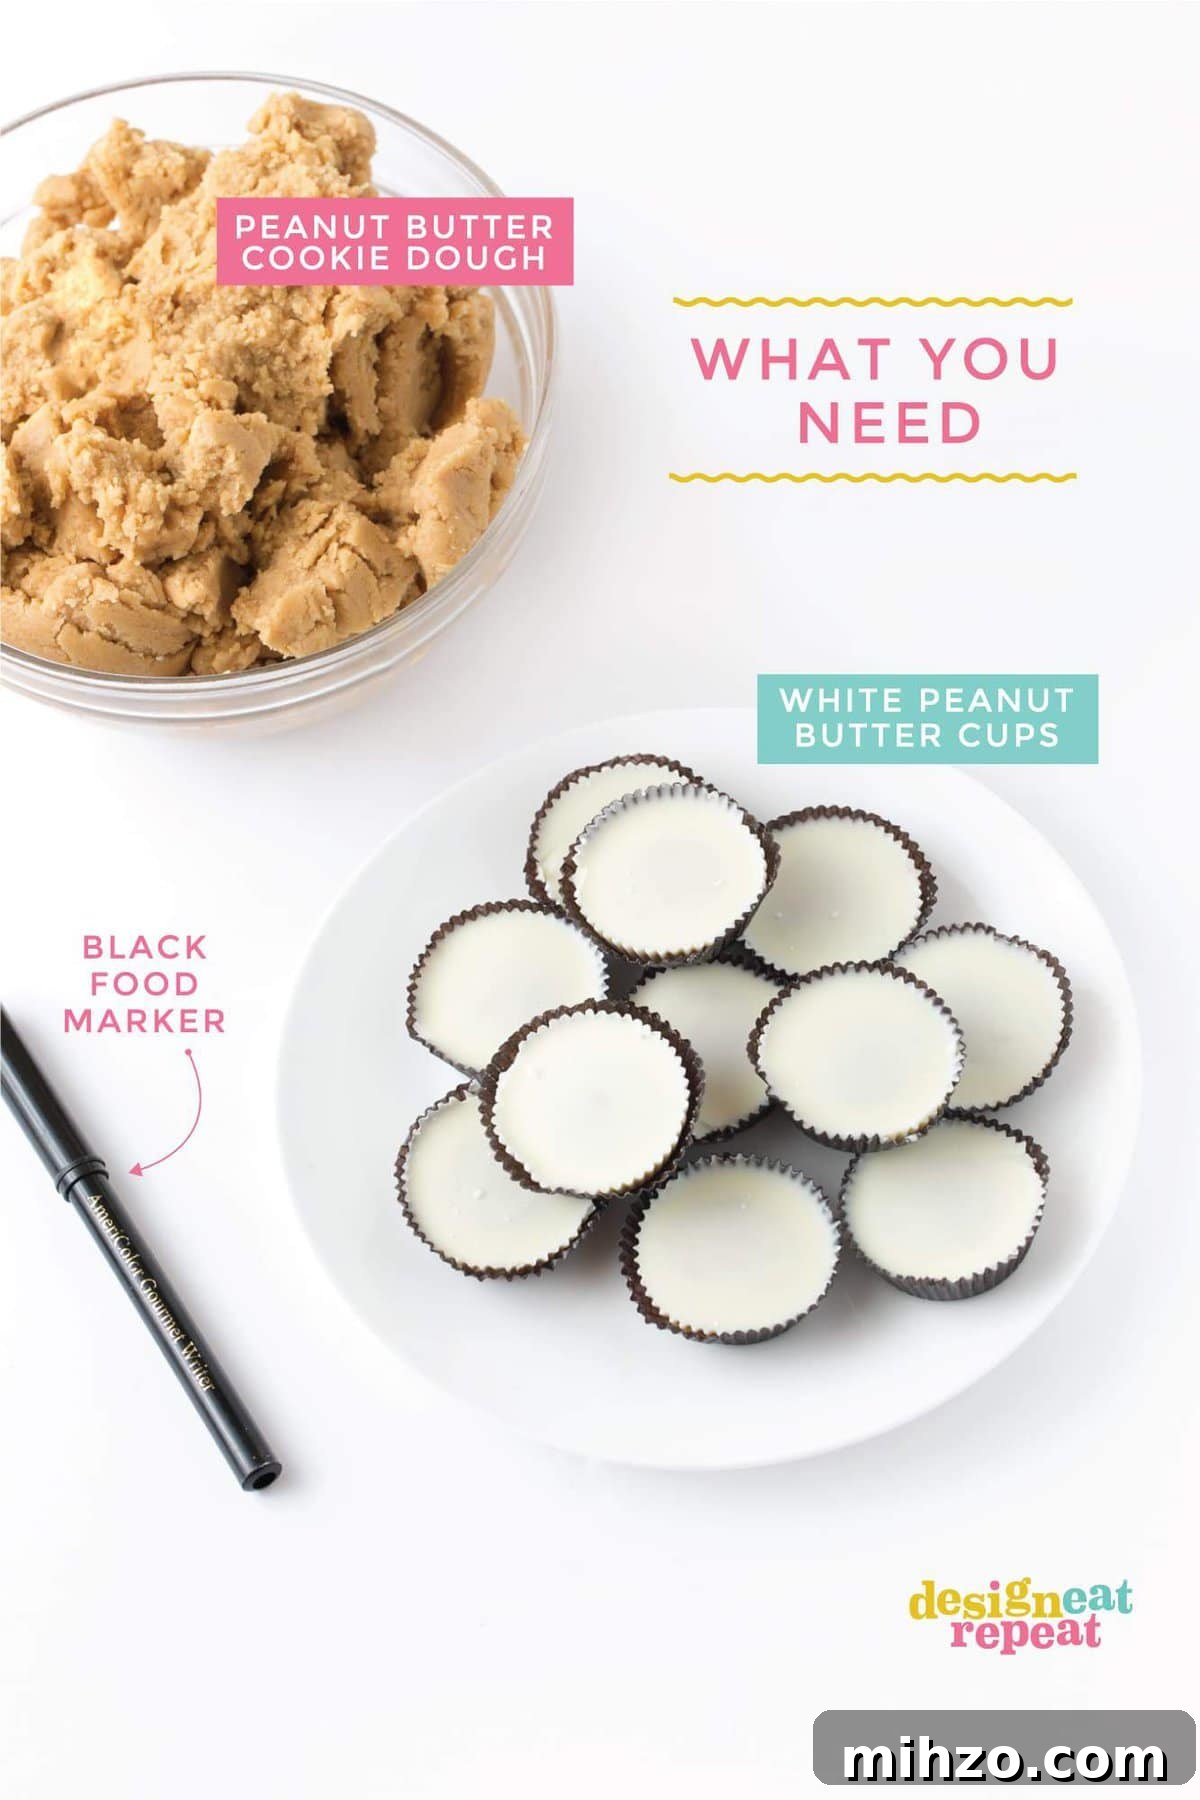
What You Need for These Easy Halloween Cookies
- White Chocolate Peanut Butter Cup Cookies recipe (see below)
- 24 full-size white chocolate peanut butter cups
- Edible black food marker
- Optional: candy eyeballs for extra decoration
How to Make These Easy Halloween Cookies
Step 1: Mix Dough & Roll Into Balls
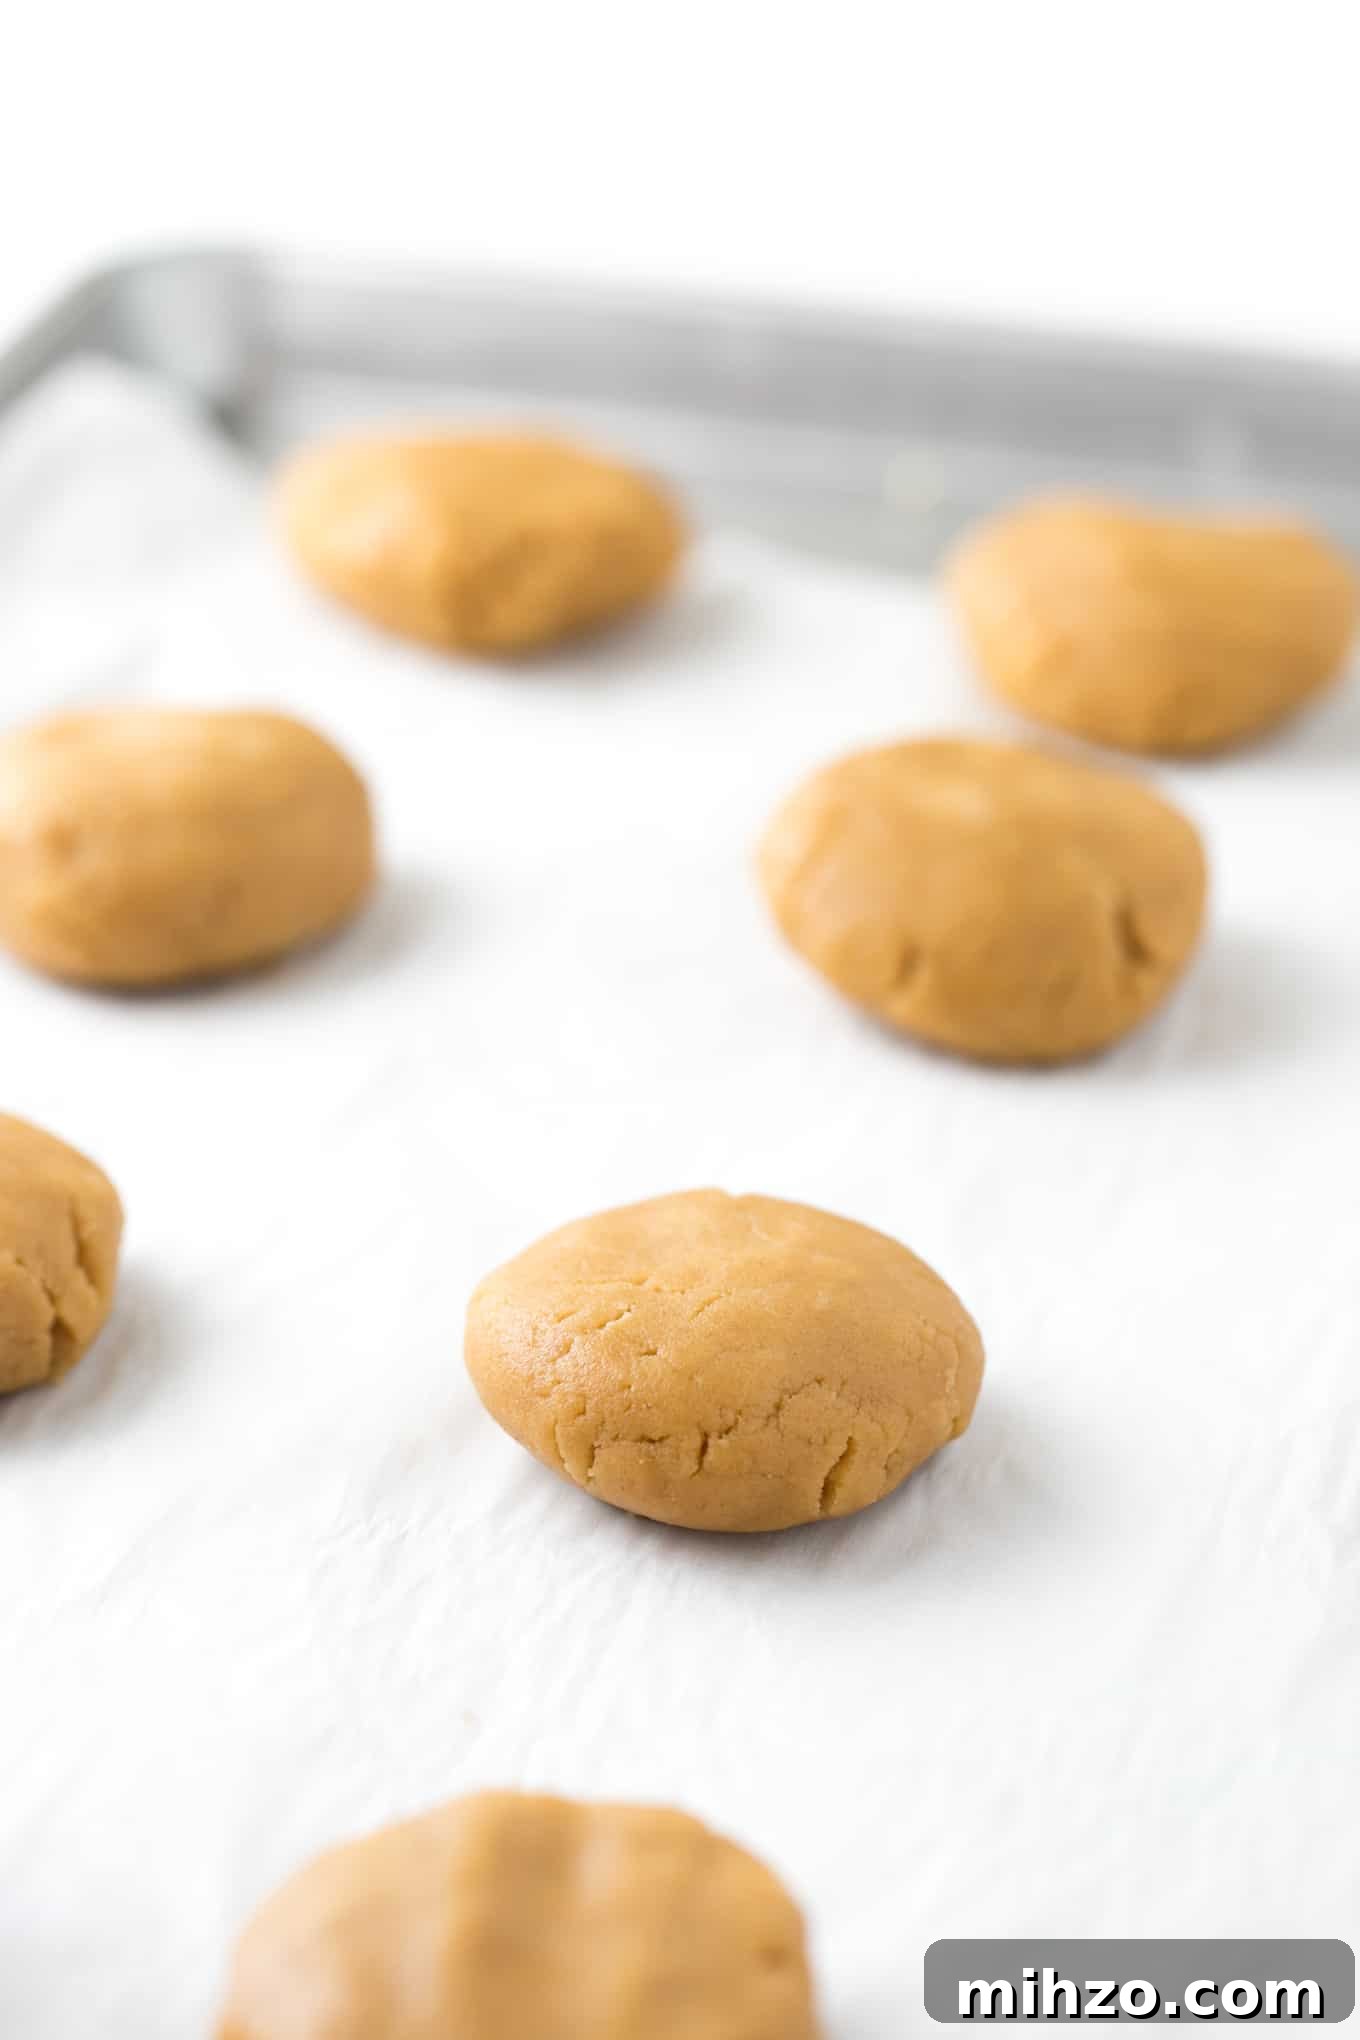
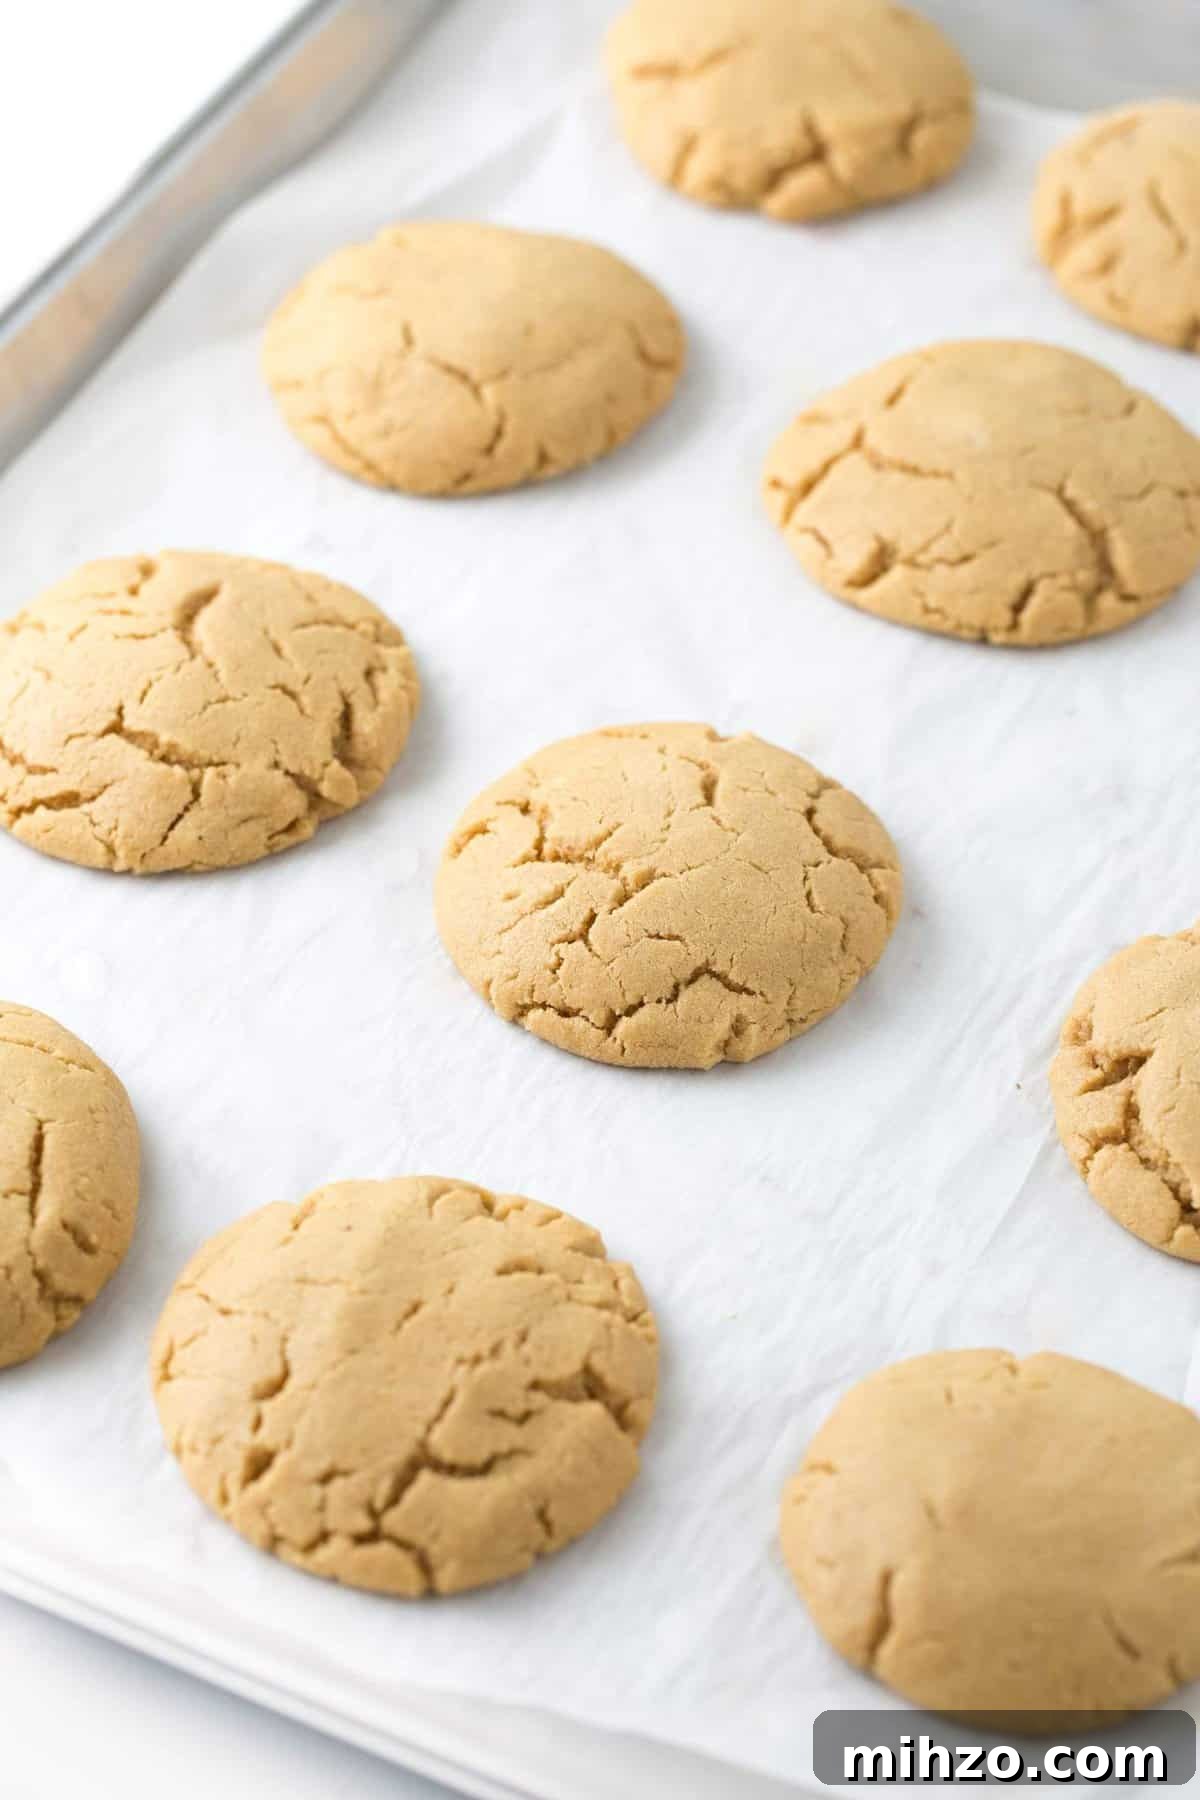
Prepare the cookie dough according to the recipe below. Scoop into 3-tablespoon portions, roll into balls, and lightly flatten the tops so the peanut butter cup will sit neatly in the center.
Step 2: Bake & Press in Peanut Butter Cup
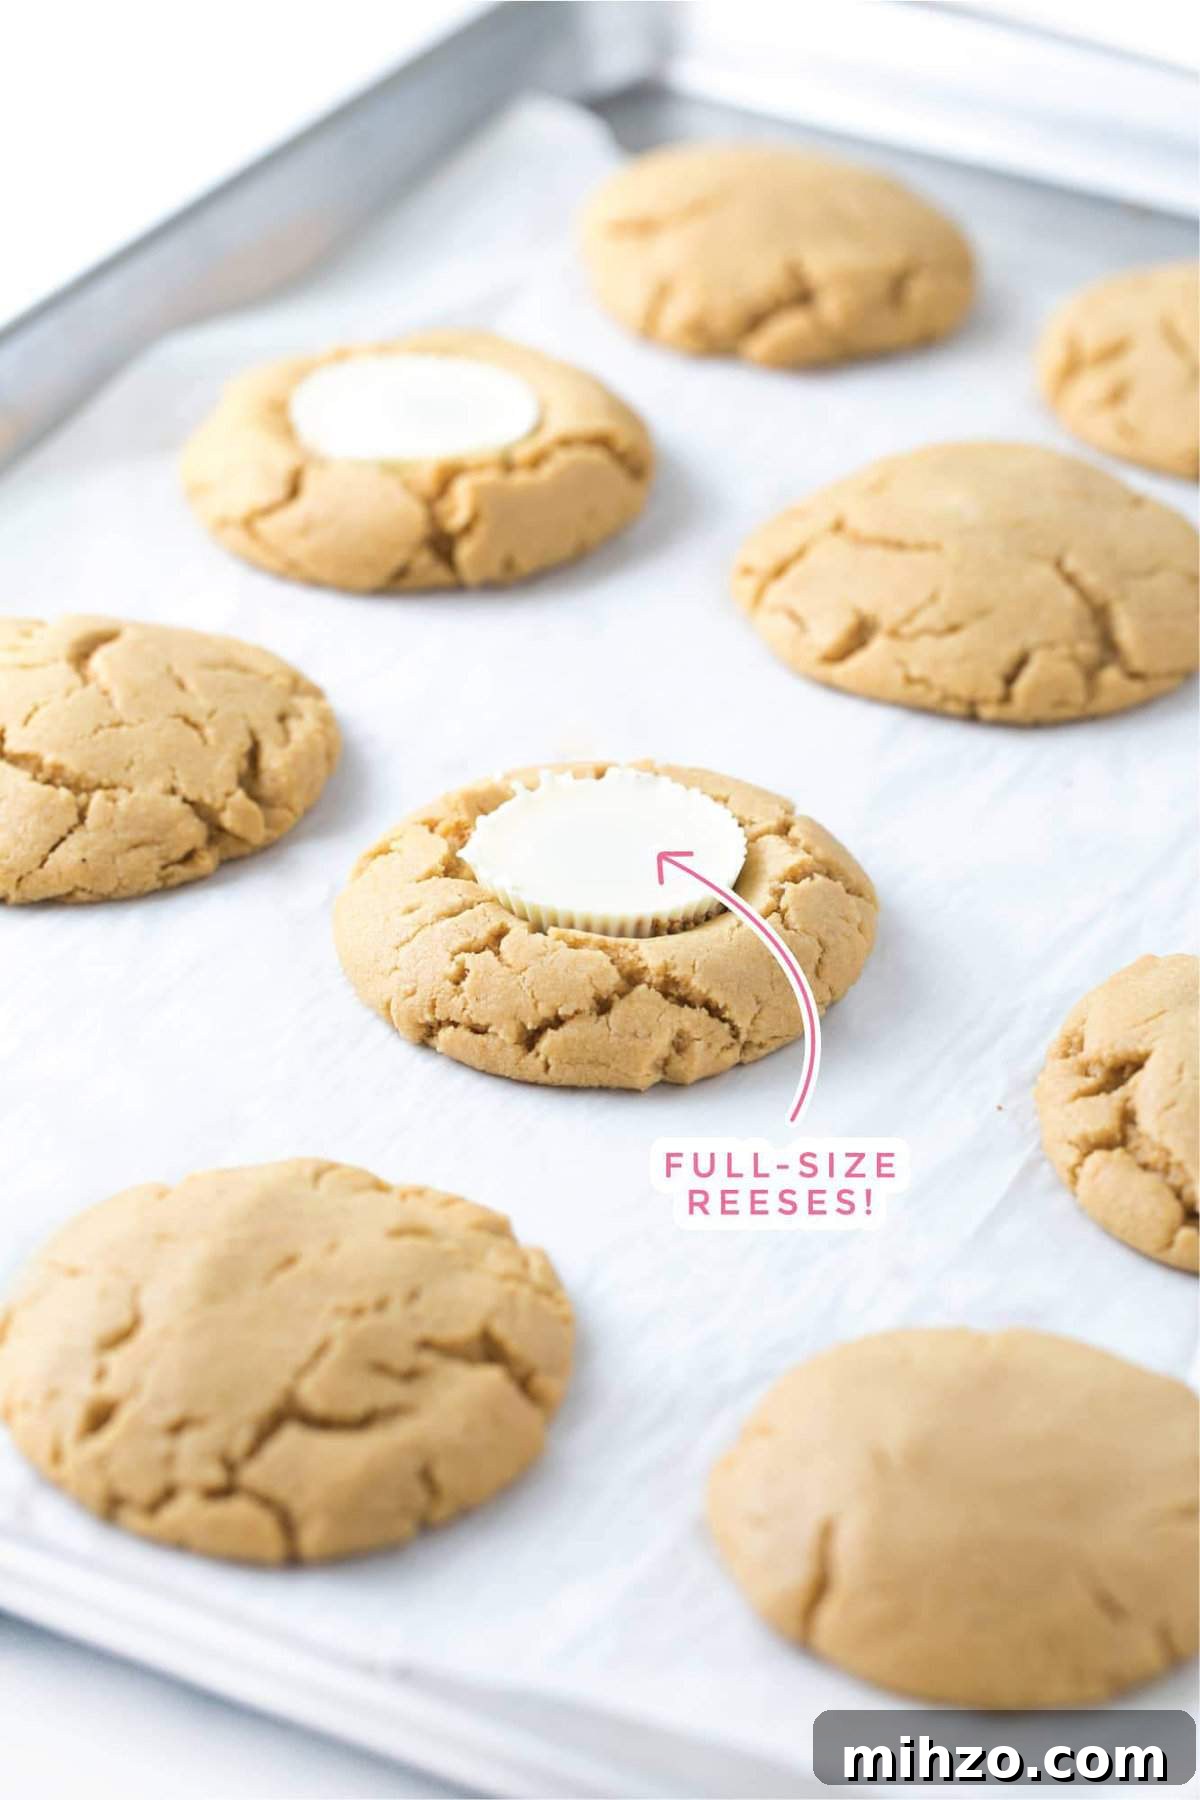
Bake the cookies at 350°F (about 175°C). As soon as they come out of the oven, immediately press a full-size white chocolate peanut butter cup into the center of each cookie so it melts slightly and adheres.
Step 3: Cool, Then Remove From Cookie Sheet
Let the cookies rest on the hot baking sheet for about 10 minutes. This allows them to finish baking and helps set the peanut butter cup into the center. Transfer to a wire rack to cool completely. If the chocolate softens too much, pop the tray into the refrigerator briefly to firm it up.
Step 4: Draw on Designs
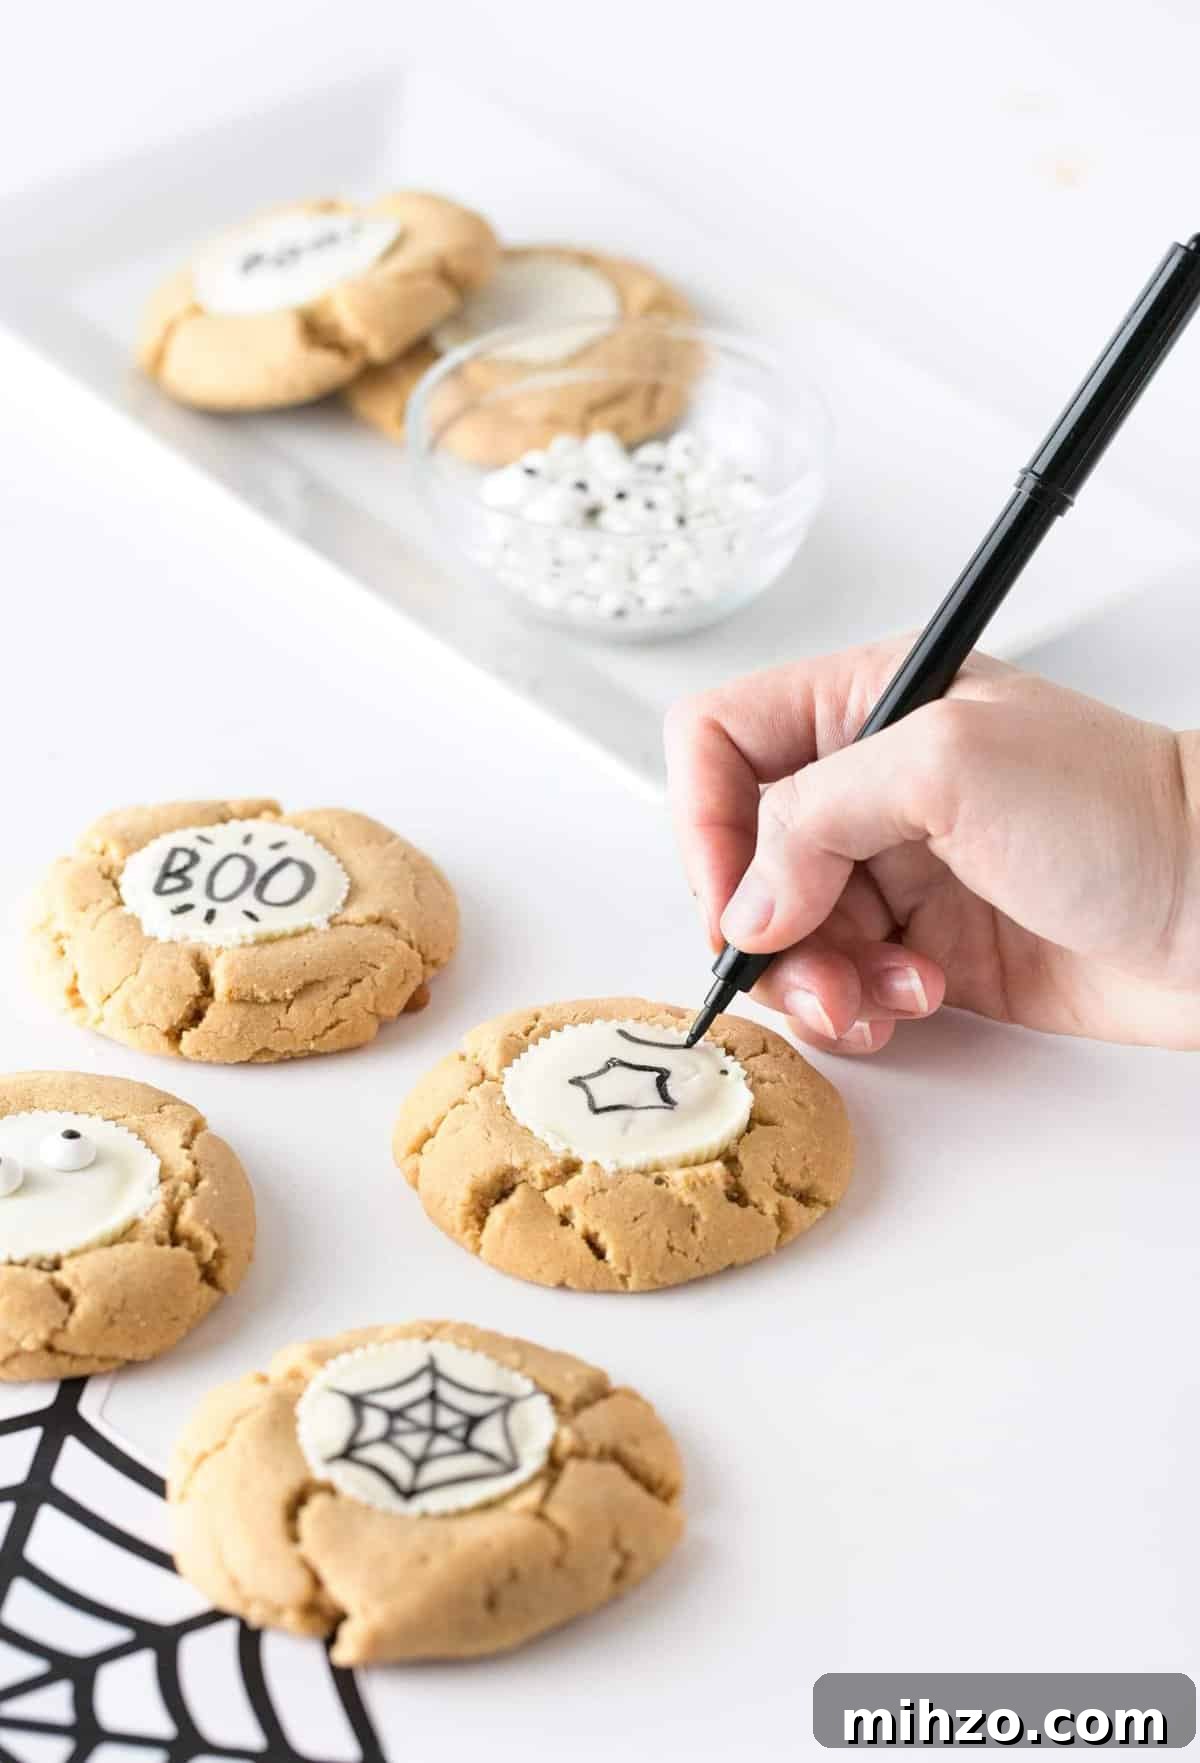
Once the white chocolate is fully hardened, use an edible black food marker to draw designs—spider webs, stitched mouths, simple faces, small phrases like “Boo!” or “EEK!”, or any motif you like. For a different look, press candy eyeballs into the chocolate while it is still warm so they stick in place.
Step 5: Package or Serve
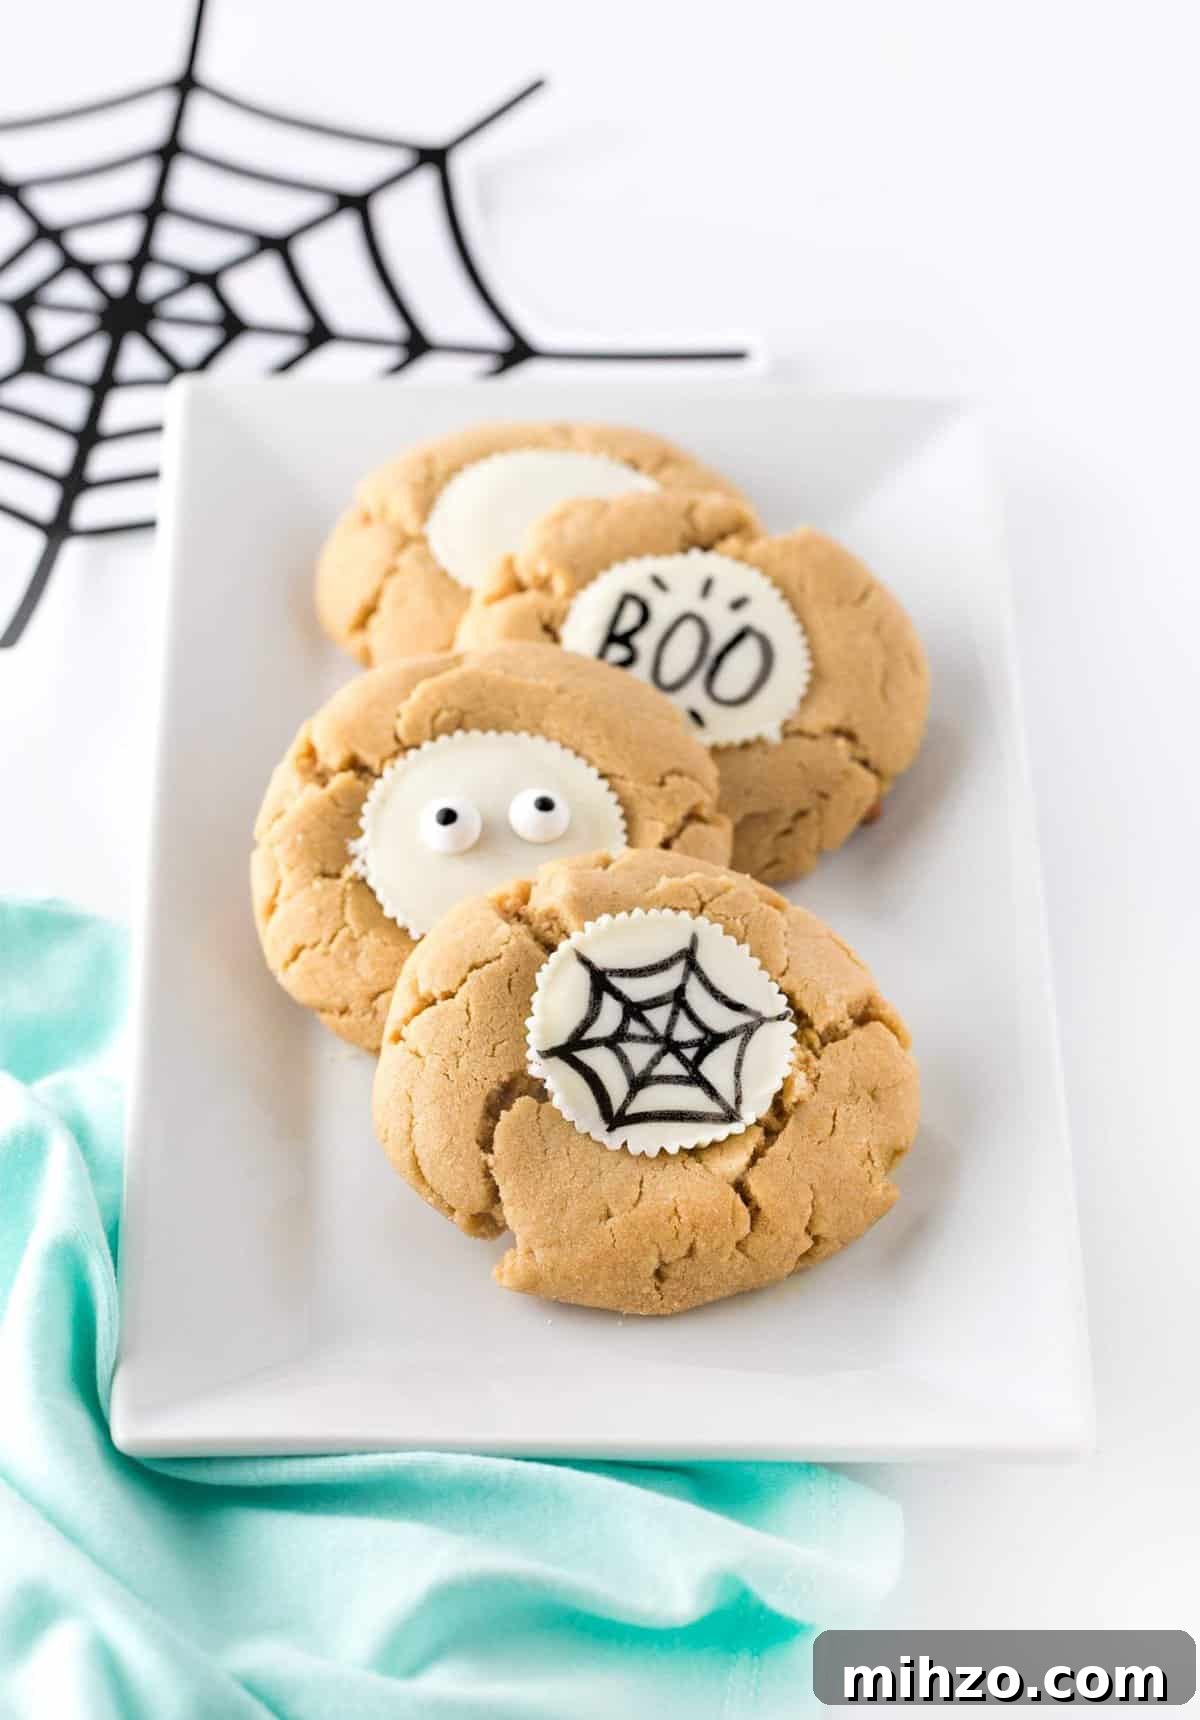
After decorating, let the cookies sit so any fresh ink or candy attachments set. Wrap them individually in clear bags for favors, place several in a treat box, or arrange them on a platter for a Halloween party. They make charming homemade gifts and travel well when packaged with a bit of padding.
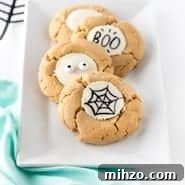
White Chocolate Peanut Butter Cup Cookies
Ingredients
- ¾ cup butter (1½ sticks, softened)
- 1 cup peanut butter
- 1 cup brown sugar
- 1 cup granulated sugar
- 1 teaspoon vanilla
- 2 eggs
- 1½ teaspoons baking soda
- 2½ cups all-purpose flour
- 24 full-size white chocolate peanut butter cups
Instructions
- Preheat oven to 350°F (175°C). Line a baking sheet with parchment paper.
- In a large bowl, cream together butter, peanut butter, brown sugar, and granulated sugar with an electric mixer on medium speed for about 30 seconds. Add vanilla and eggs and mix briefly until combined.
- Add baking soda and mix on low for a few seconds. Stir in the flour until incorporated.
- Scoop dough into 3-tablespoon balls and lightly flatten each one before placing on the prepared cookie sheet.
- Bake for 8–9 minutes. Cookies may look slightly underbaked—allow them to finish on the hot baking sheet after removing from the oven.
- Immediately press a white chocolate peanut butter cup into the center of each warm cookie.
- Let cookies cool on the baking sheet for 10 minutes, then transfer to a rack. Chill briefly if you need the chocolate to harden faster.
- Once completely cooled and the chocolate has set, decorate with an edible food marker or attach candy eyeballs while the chocolate is still warm.
Nutrition (per cookie)
Calories: 236 kcal; Carbohydrates: 29 g; Protein: 4 g; Fat: 11 g; Sugar: 18 g.
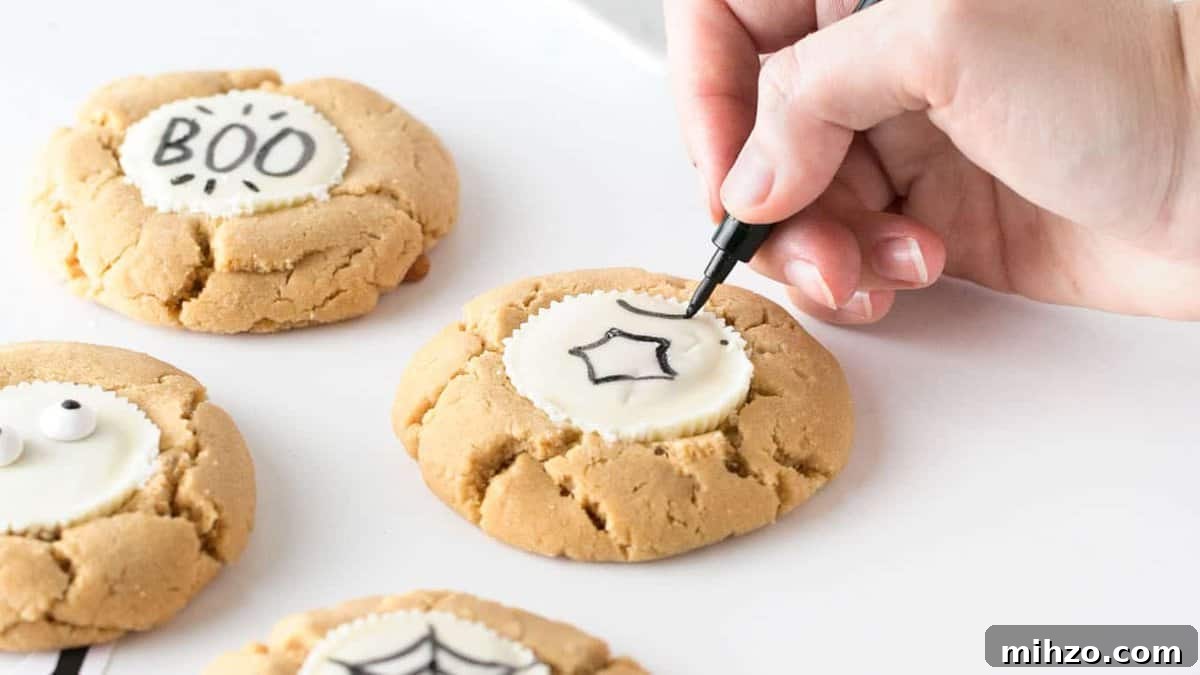
Tell me: what would you draw on these easy Halloween cookies? Simple faces, tiny bats, little pumpkins, or cheeky phrases all look great. Let your creativity guide you—these are the kind of treats that are as fun to decorate as they are to eat.
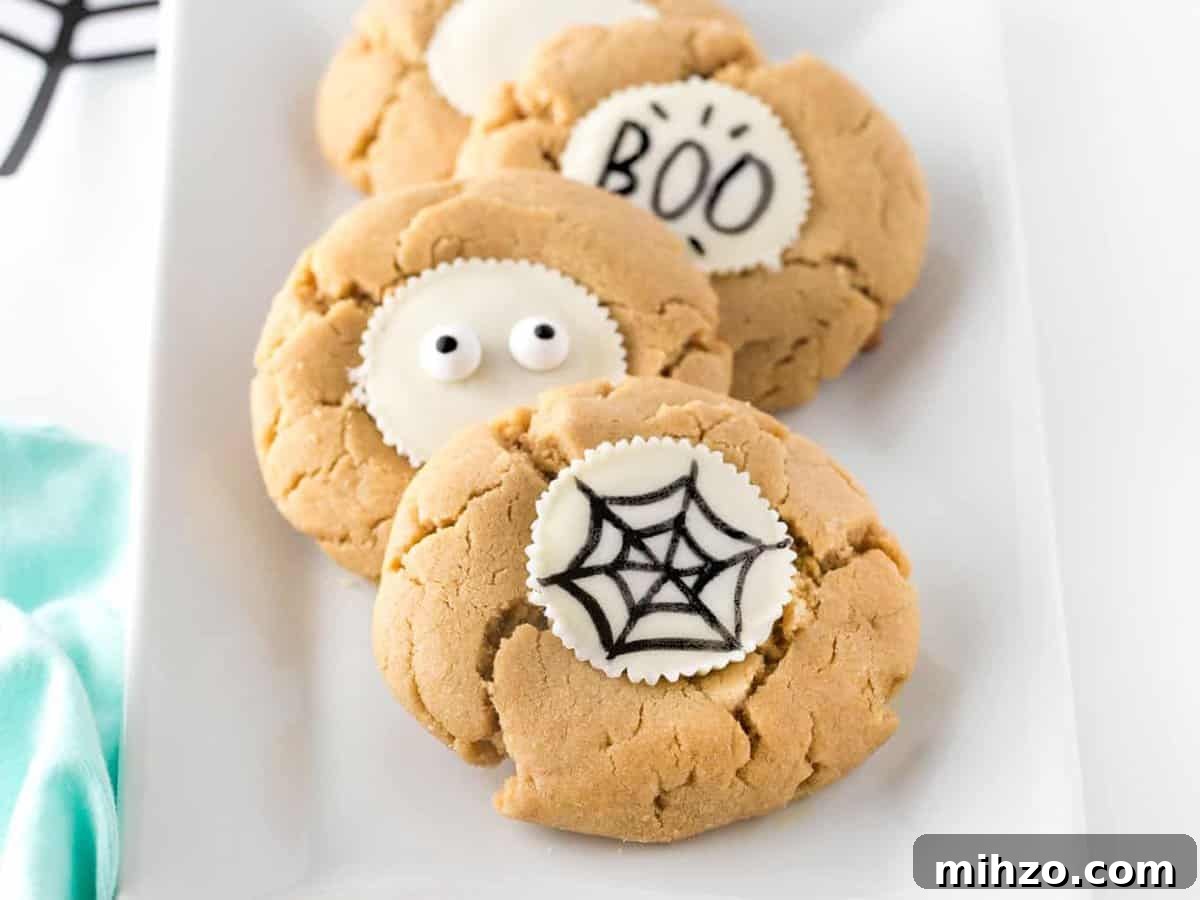
Package These Cookies for Gifting

These cookies make delightful party favors. Wrap them individually in cellophane or tuck a few into a small bag or box with tissue for a polished presentation. Adding a handwritten tag or label makes them feel even more special.
Printable Treat Ideas
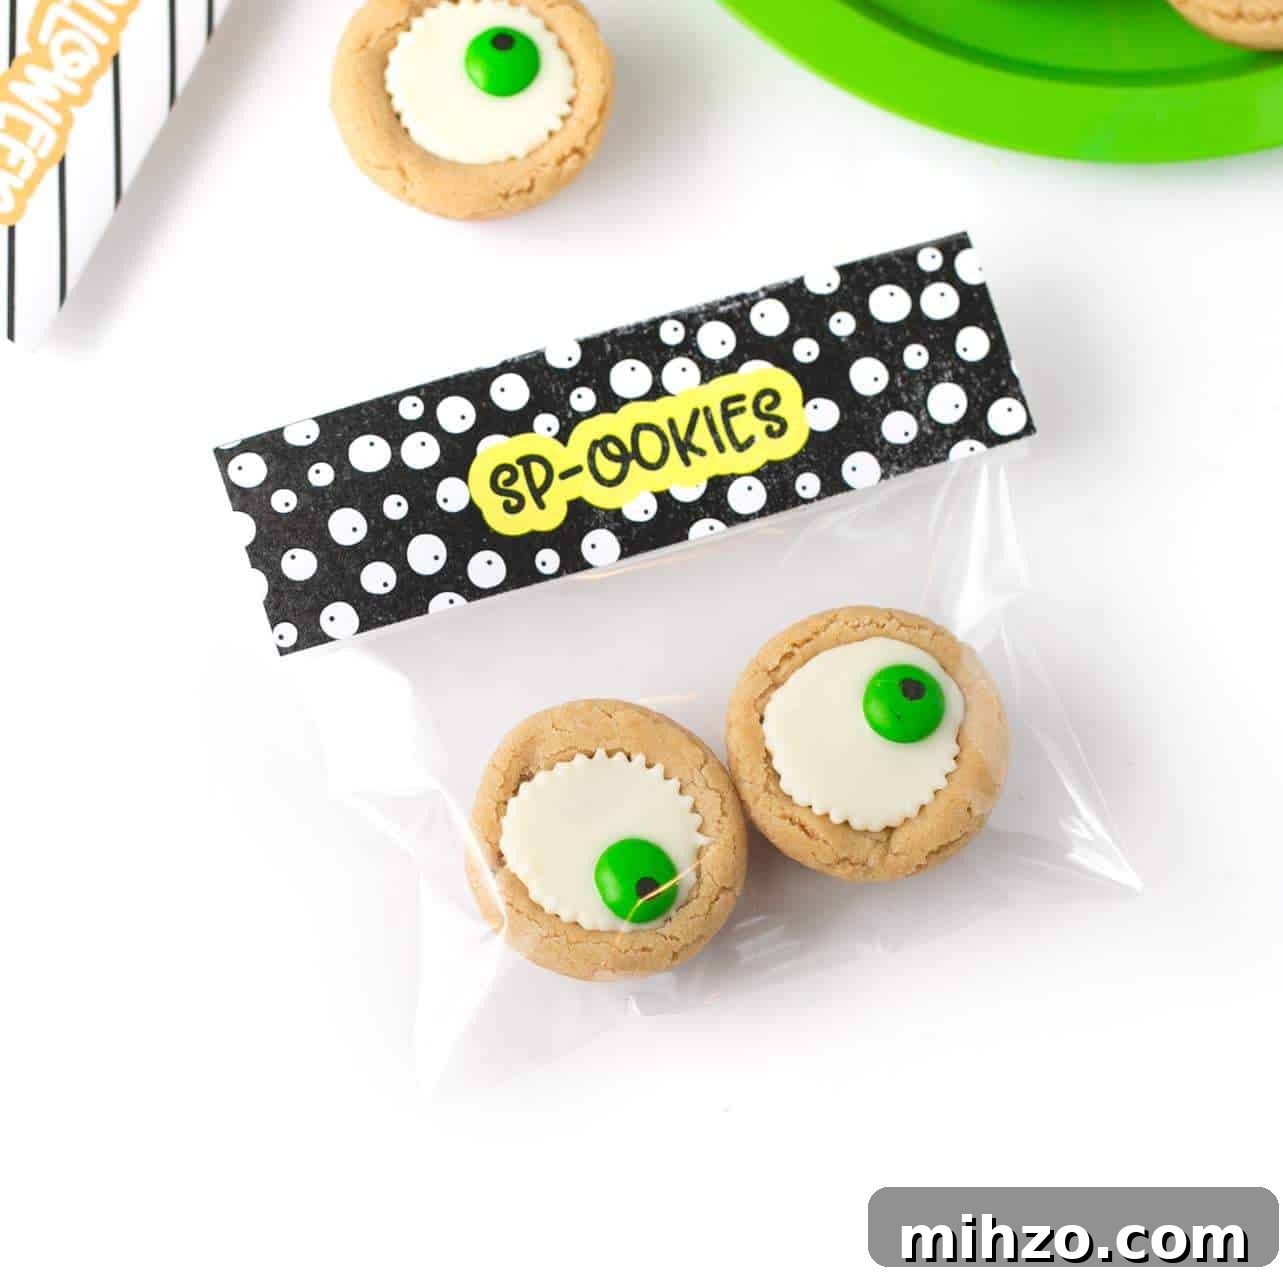
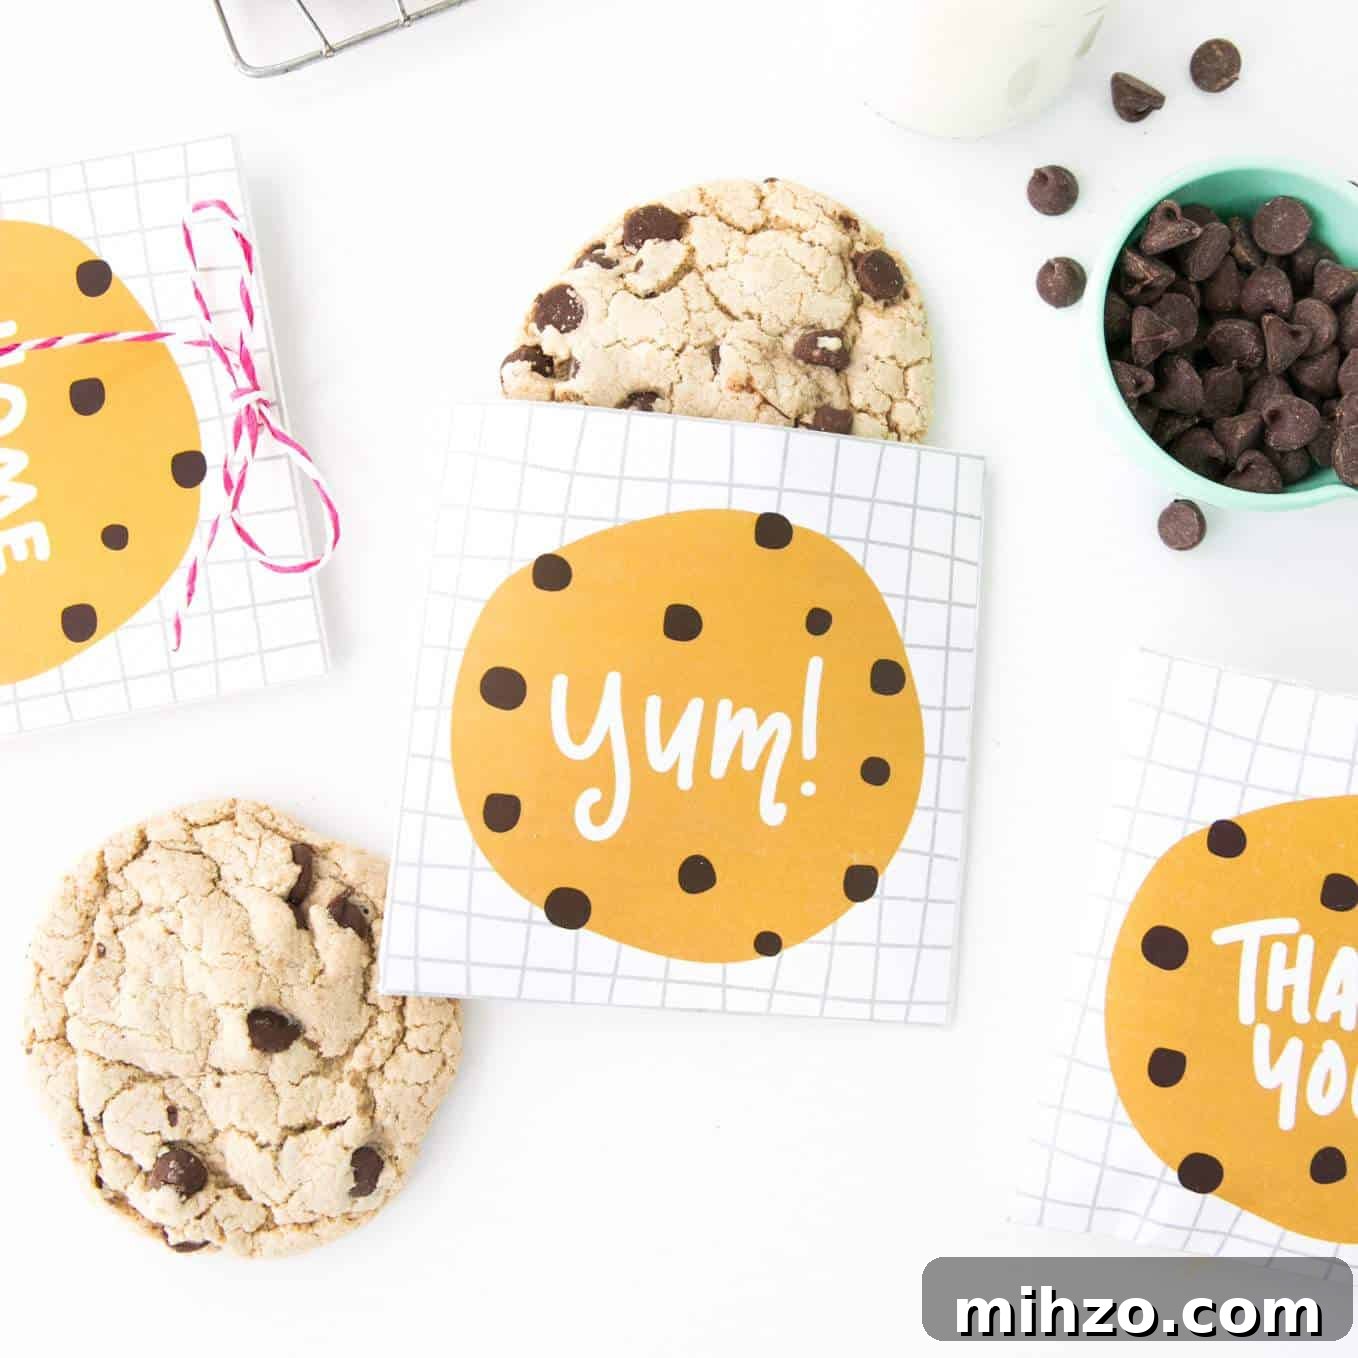
Whether you package them in printable pouches, fold-over toppers, or clear bags tied with ribbon, these decorated peanut butter cup cookies are an easy, crowd-pleasing option for Halloween gatherings, classroom treats, or neighborhood handouts.