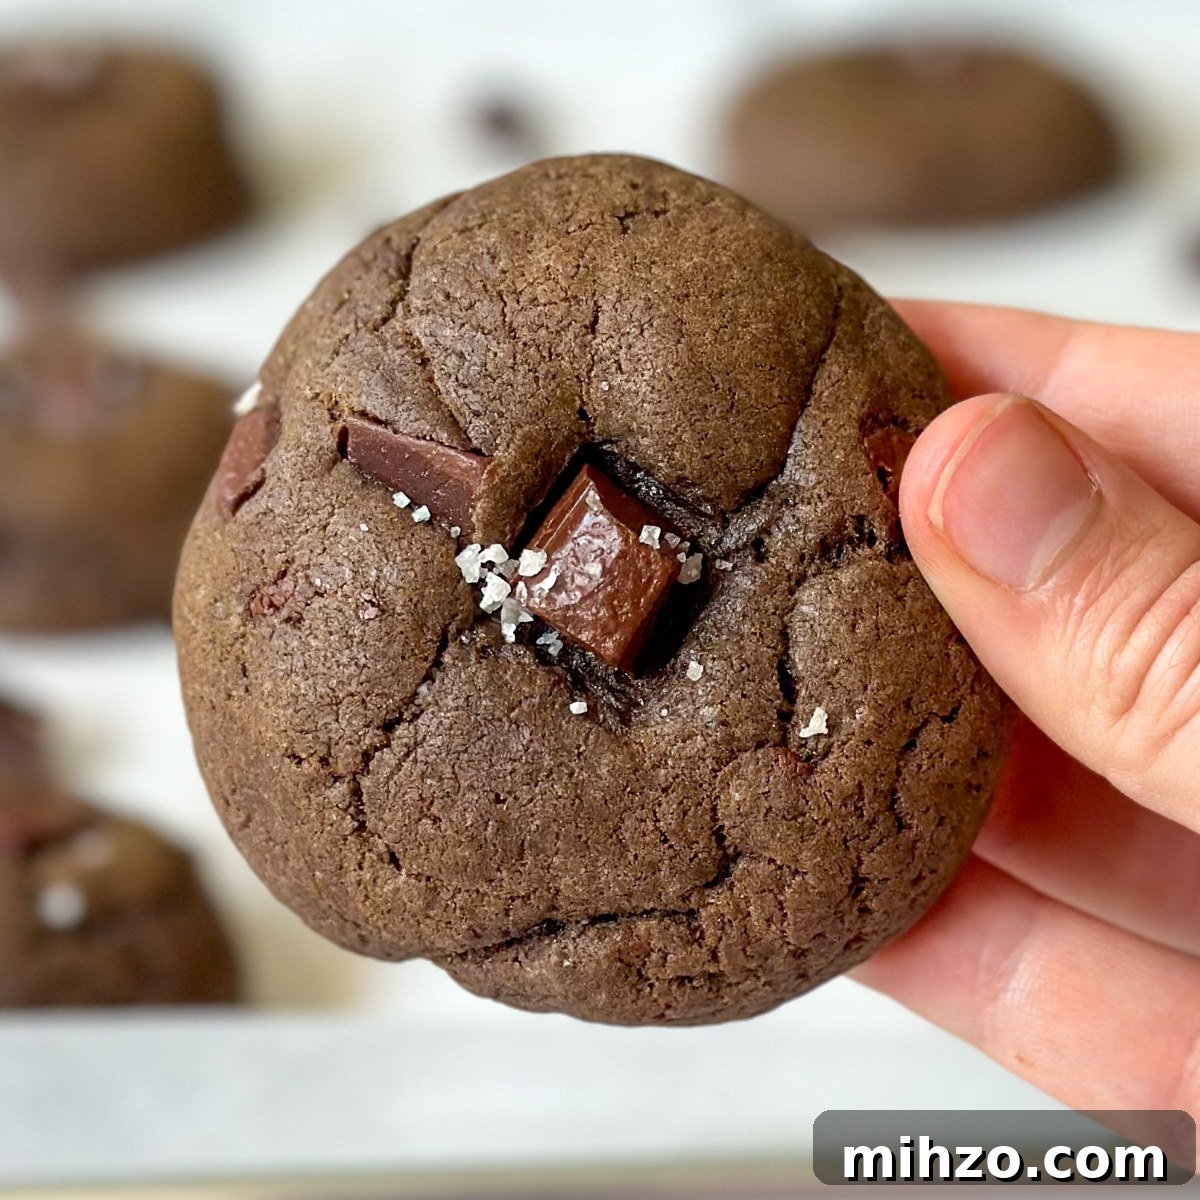
For coffee lovers, these Easy Espresso Chocolate Chunk Cookies are a must-try. They combine deep espresso flavor with generous chocolate chunks for a perfectly balanced cookie. Expect crisp edges, a soft, tender center, and pockets of melty chocolate in every bite. Serve them with your favorite cup of coffee, an after-dinner espresso, or pack a few for a sweet snack on the go.
This straightforward recipe yields reliably delicious cookies when you follow the key steps: measure accurately, chill the dough, and bake just until the edges set. The result is a cookie that is crisp at the perimeter, chewy toward the middle, and full of coffee-chocolate flavor.
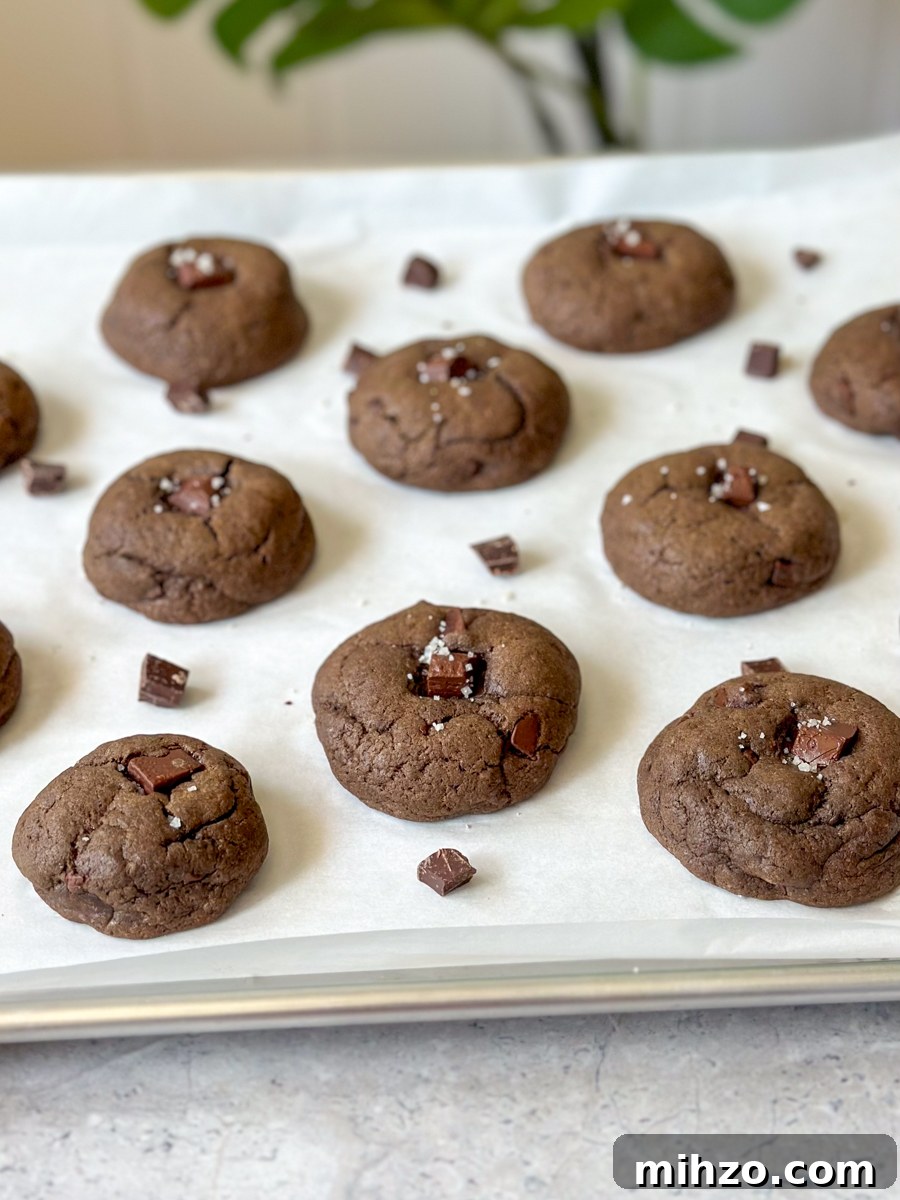
These espresso chocolate chunk cookies are perfect year-round, but they shine during the holidays and at cozy gatherings. They make a great homemade gift, a festive addition to a cookie swap, or a comforting treat for a quiet evening at home. The espresso elevates the chocolate without making the cookies taste like coffee — it enhances the chocolate notes and deepens the overall flavor.
If you enjoy other simple, crowd-pleasing sweets, this recipe complements many easy treats and no-bake desserts. Keep your pantry stocked with good-quality espresso powder and chocolate so you can whip up a batch whenever the craving hits.
Ingredients
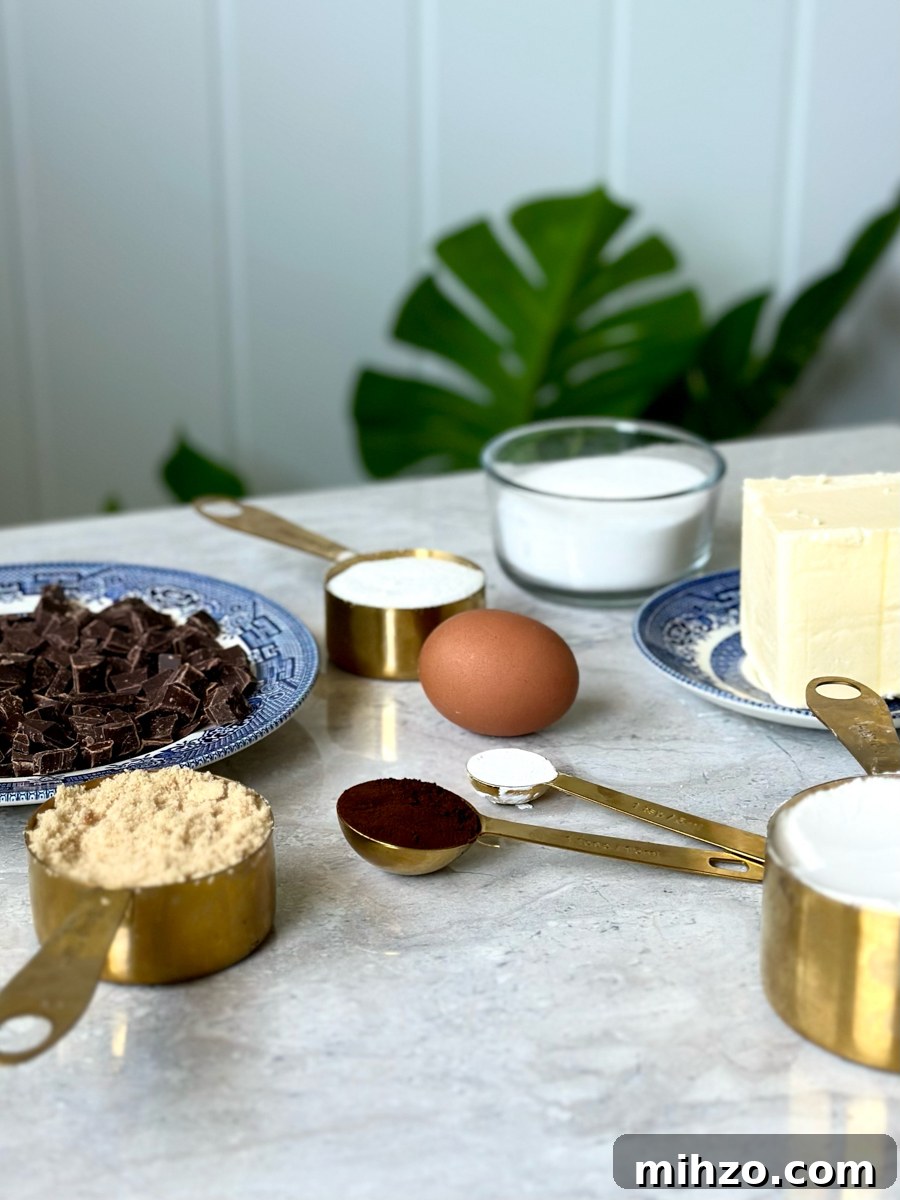
- All-purpose flour
- Espresso powder
- Cornstarch
- Baking soda
- Salt
- Butter, softened to room temperature
- Golden brown sugar
- Granulated white sugar
- Eggs
- Vanilla extract
- Semisweet chopped chocolate chunks
- Optional: flaky sea salt
See the recipe card below for exact quantities and servings.
Instructions
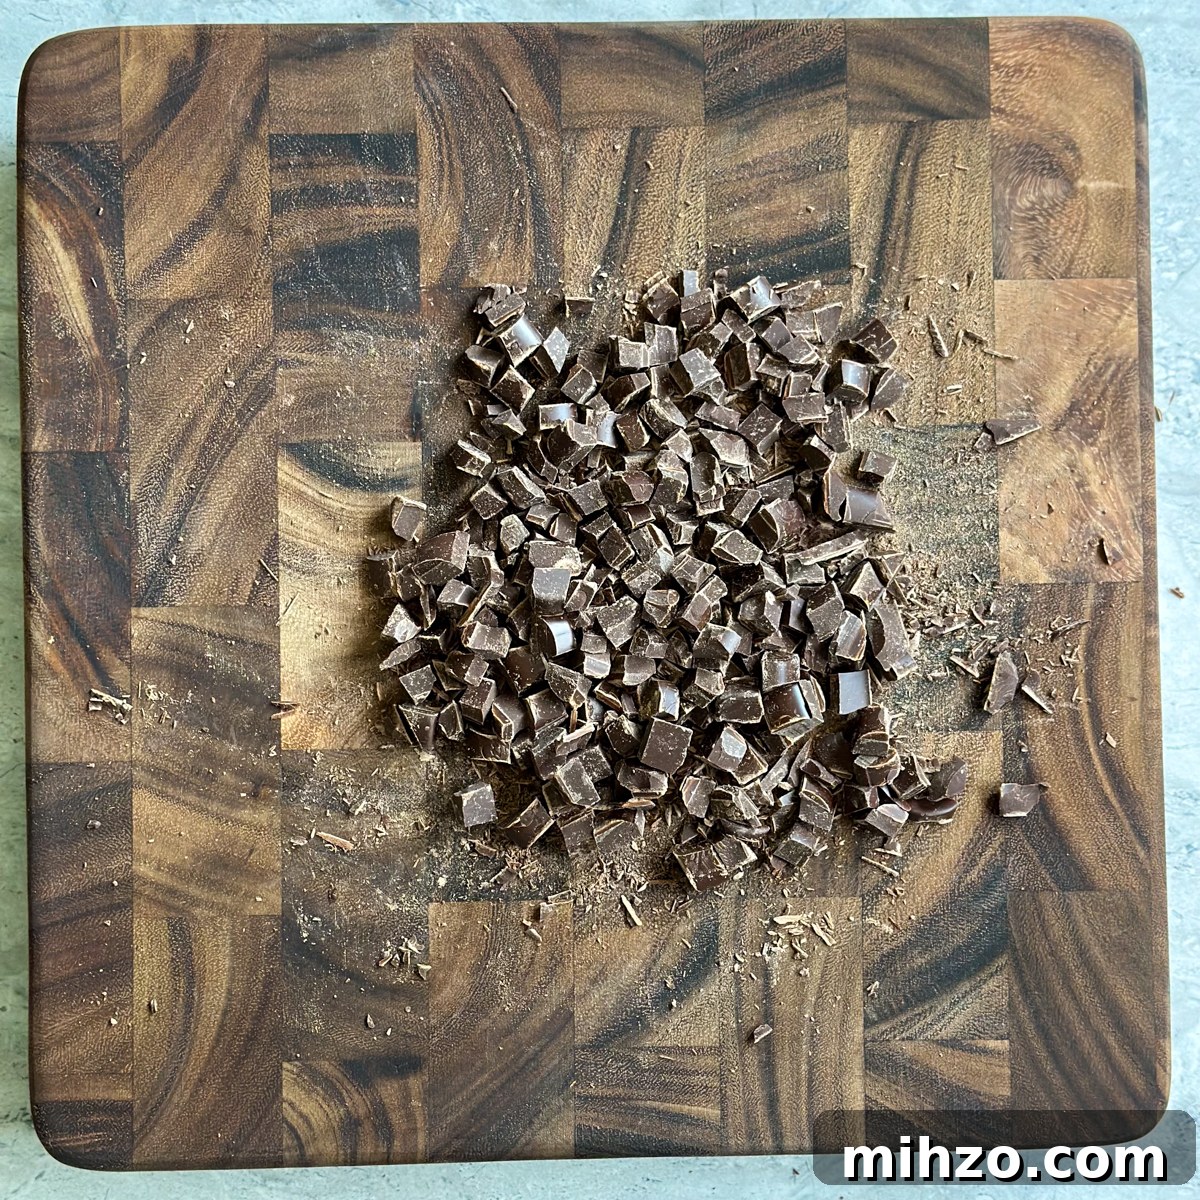
Cut the chocolate into chunks. Larger chunks give more satisfying pockets of melted chocolate.
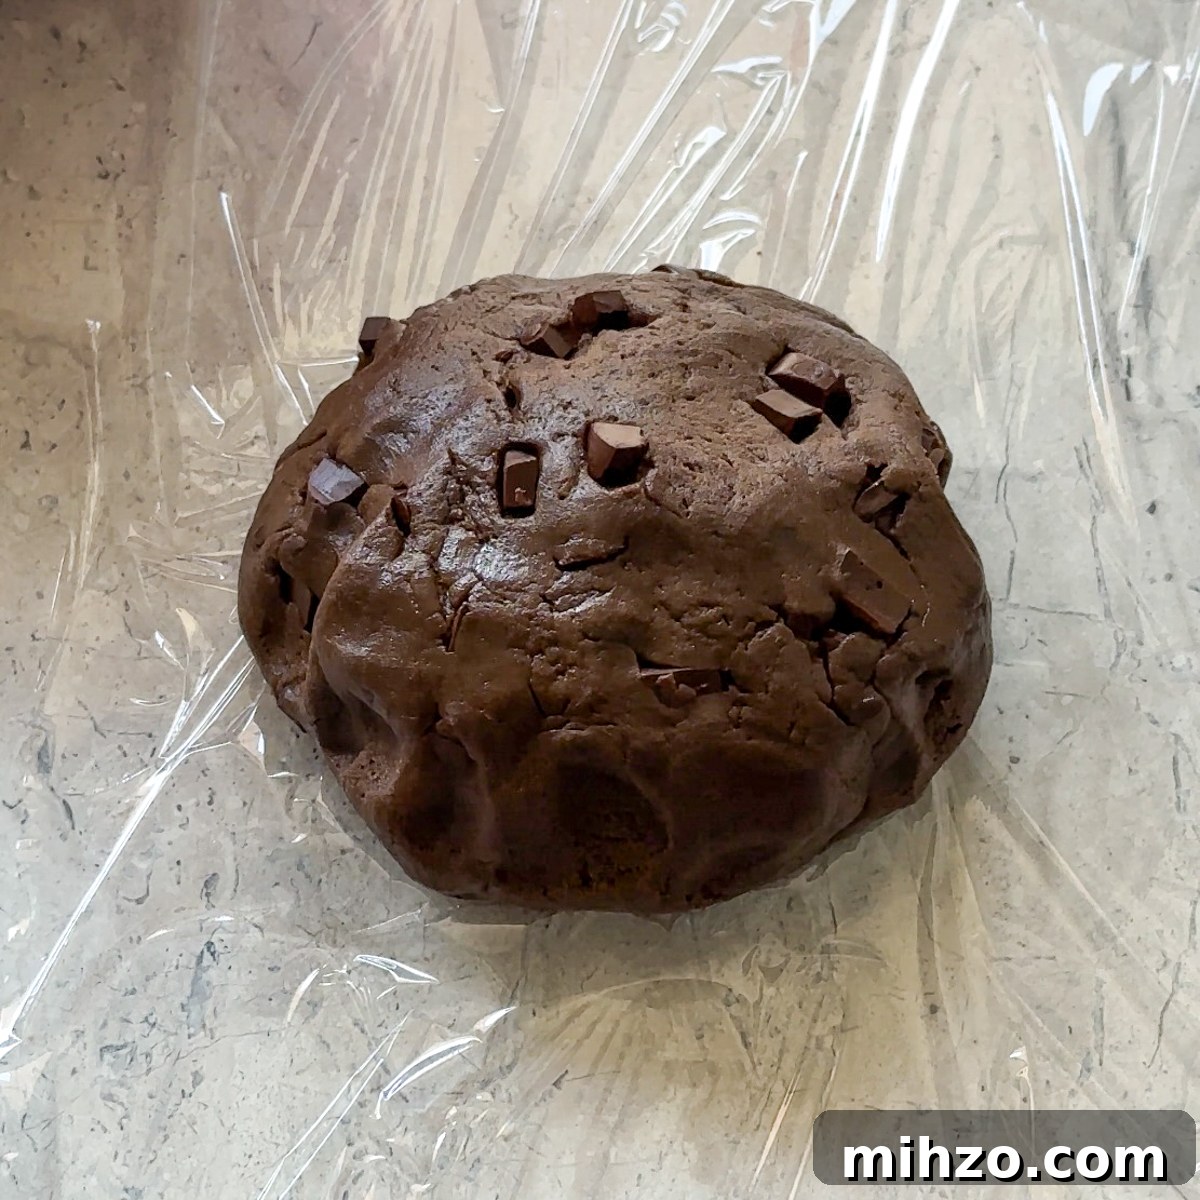
Prepare the dough and chill it. Refrigerate the dough for several hours or overnight for best texture and flavor development.
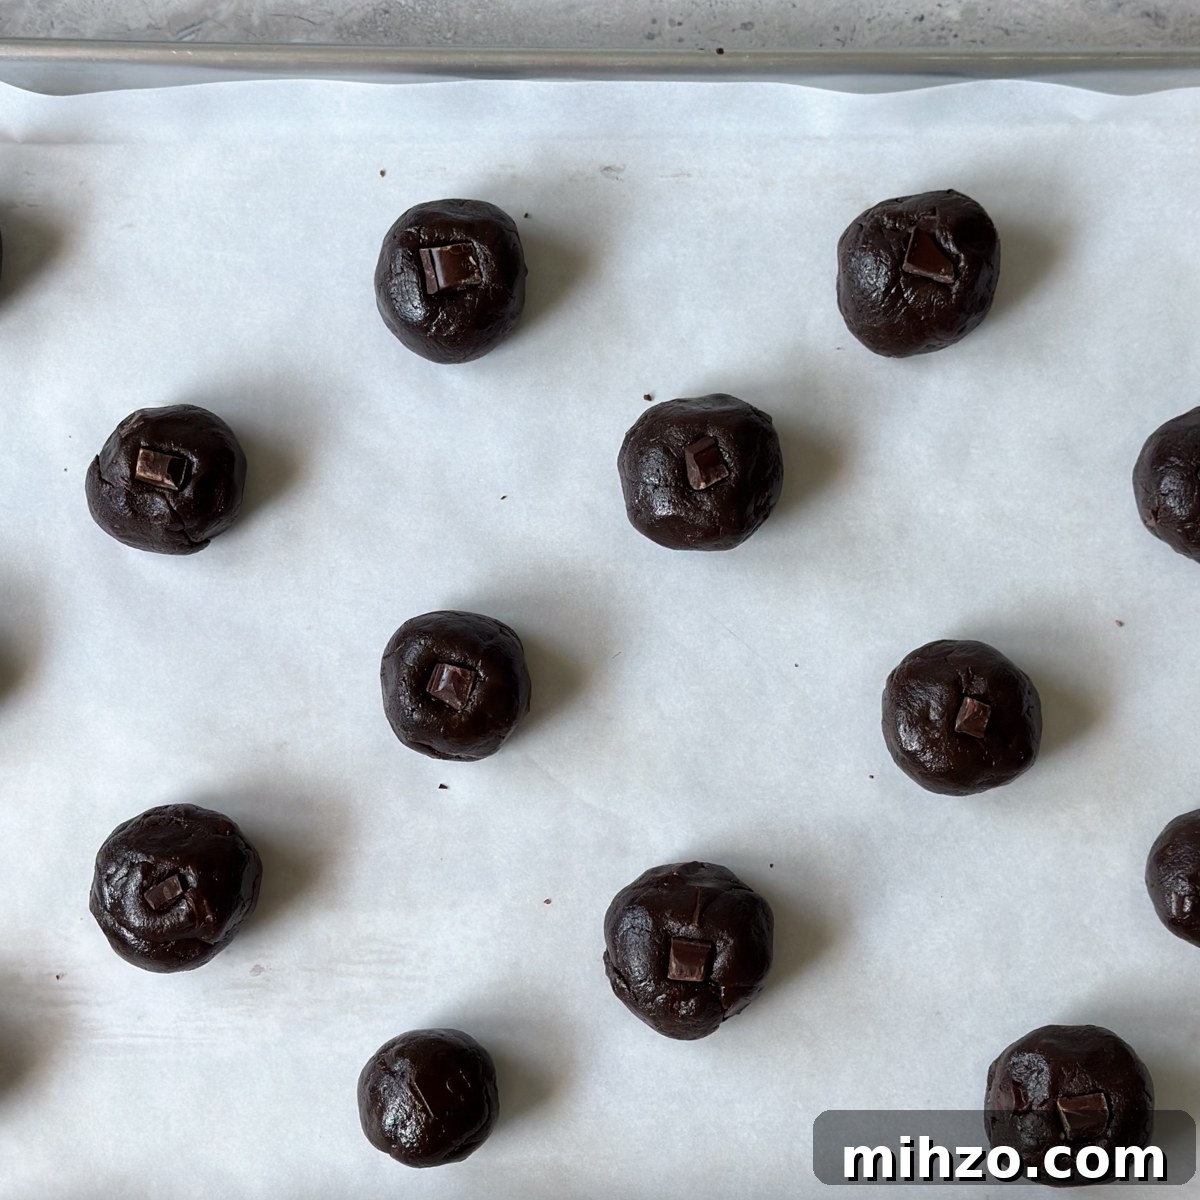
Form small dough balls and bake. Rolling uniform balls helps the cookies bake evenly.

Finish and serve. A light sprinkle of flaky sea salt after baking brightens the chocolate and coffee flavors.
1. Prepare the dry ingredients: In a medium bowl, whisk together the flour, espresso powder, cornstarch, baking soda, and salt until combined. Set aside.
2. Cream the butter and sugars: In a separate bowl, use a stand mixer or hand mixer to beat the softened butter with the brown and granulated sugars on medium-high speed until light, fluffy, and pale, about 2 minutes. Scrape the bowl sides as needed.
3. Combine wet and dry: Add the eggs and vanilla to the creamed mixture and beat until incorporated, about 30 seconds. Gradually add the dry ingredients and mix on medium-low until just combined. Fold in the chopped chocolate with a spatula or wooden spoon.
4. Chill the dough: Transfer the dough to an airtight container and refrigerate for several hours or overnight. Chilling firms the fat, reduces spreading, and develops flavor.
5. Preheat and prepare: Preheat the oven to 350°F (175°C) and line a baking sheet with parchment paper.
6. Bake: Scoop 1-inch dough balls onto the prepared sheet, spacing them a couple of inches apart. Bake 10–12 minutes, until edges are set and lightly golden while centers remain slightly soft. Let cookies cool on the sheet for 5 minutes before transferring to a rack. Sprinkle flaky sea salt on top if desired.
Substitutions
Flour: Whole wheat or a gluten-free blend can work, though texture will vary.
Espresso powder: Instant coffee or a strong brewed espresso reduced to a thick concentrate can substitute; quantities may need adjusting.
Cornstarch: Arrowroot or tapioca starch are suitable swaps.
Baking soda: Baking powder can be used, but use about three times the amount and expect a slightly different rise.
Butter: Margarine or solid coconut oil can substitute, with minor texture changes.
Sugar: Brown sugar alternatives like coconut sugar work, though they alter flavor and color.
Eggs: For vegan options, flax or chia “eggs” or unsweetened applesauce can be tried, but texture will differ.
Equipment
- Large baking sheet
- Small and medium bowls
- Hand mixer or stand mixer
- Whisk
- Spatula
- Parchment paper
- Plastic wrap
- Cutting board and knife for chopping chocolate
- Measuring cups and spoons
- Cooling rack
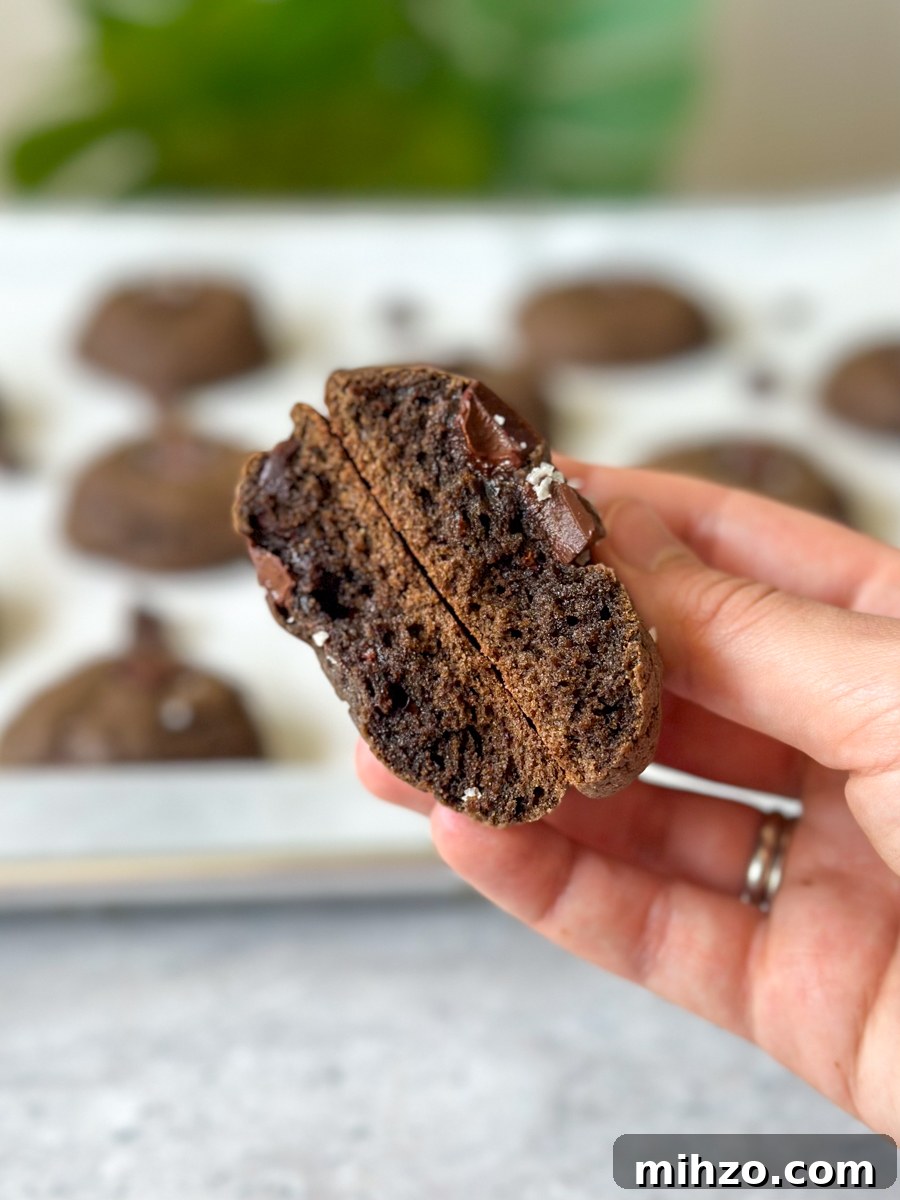
How to Store & Reheat
Store cooled cookies in an airtight container at room temperature for 3–4 days. For longer storage, freeze cookies or unbaked dough balls in a sealed bag or container for 2–3 months. Thaw frozen baked cookies at room temperature for 10–15 minutes, or warm them in a preheated 350°F oven for 2–3 minutes for a freshly baked texture. Microwaving for short bursts (20–45 seconds) will also soften chilled cookies.
3 Top Tips for Success
1. Chill the dough: Refrigeration firms the butter and concentrates flavors, producing thicker, chewier cookies instead of thin, flat ones.
2. Use quality ingredients: A good espresso powder and high-quality chocolate make a noticeable difference in flavor and overall satisfaction.
3. Watch the bake time: Remove cookies when edges are set but centers still look slightly soft; residual heat will finish them and keep the centers tender.
FAQ’s
Yes. Dissolve instant coffee granules in a small amount of hot water to approximate espresso powder, then stir the concentrate into the dry ingredients or directly into the dough. Adjust amounts to taste.
Yes. Scoop dough into balls, flash-freeze on a tray, then transfer to a sealed bag. Bake from frozen, adding a few extra minutes to the baking time.
Absolutely. Milk, dark, or white chocolate can be used. Chopping a bar into chunks gives larger, melty bites than standard chips.
Pairing
These cookies pair wonderfully with warm or iced coffee, a glass of cold milk, or a creamy dairy-free milk alternative. They also make a nice finish to a casual dessert spread alongside fruit-based bars or a simple cheesecake slice.
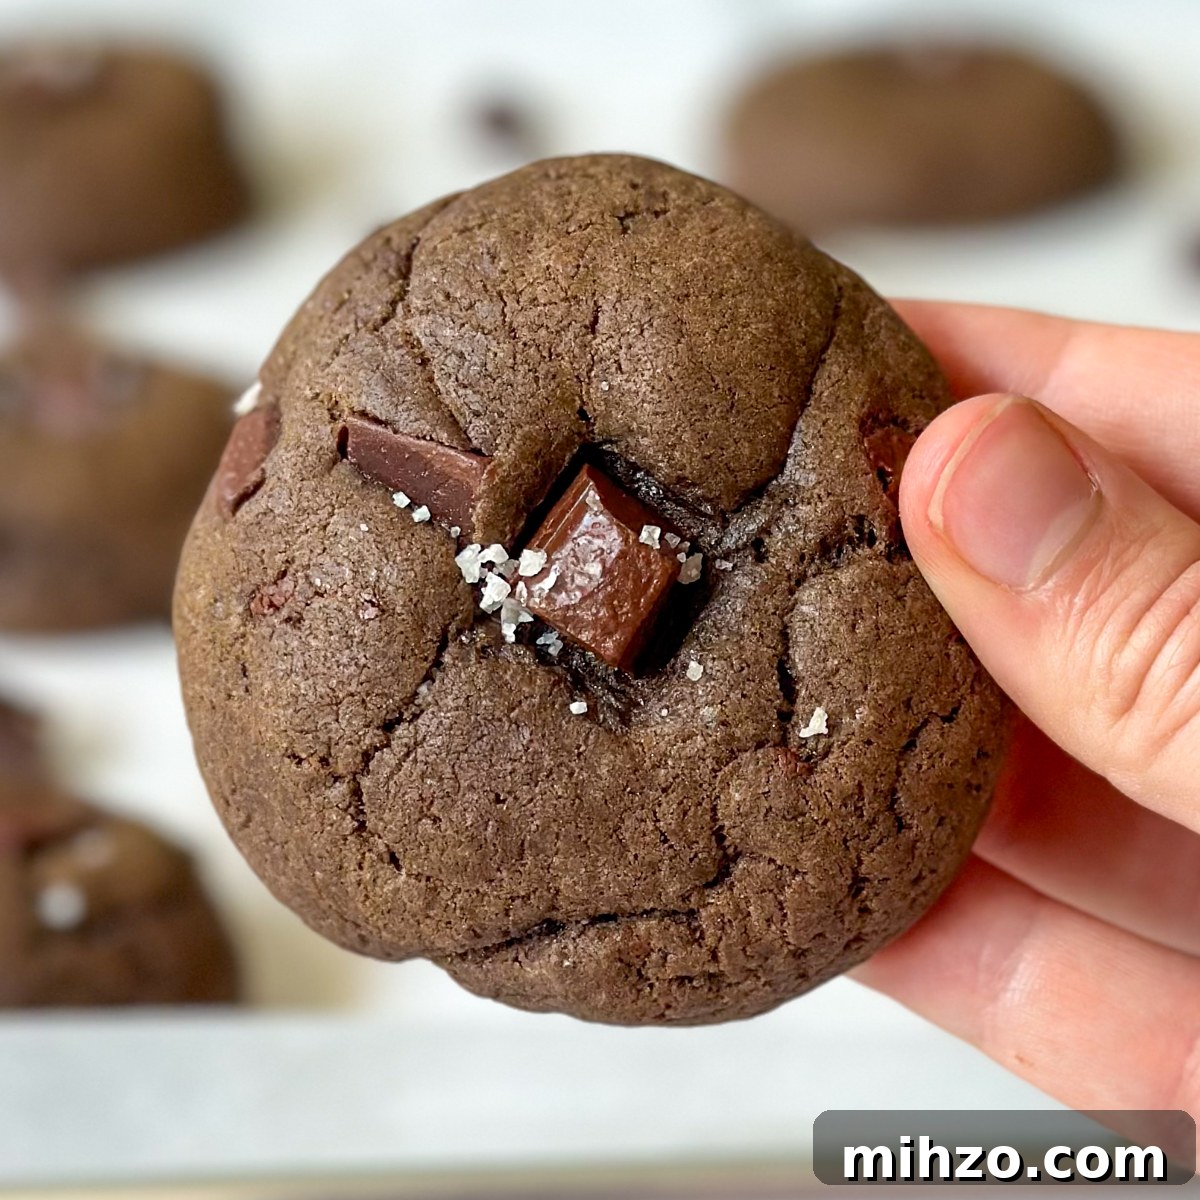
Easy Espresso Chocolate Chunk Cookie Recipe
Food safety
- Don’t leave perishable items sitting out for extended periods.
- Never leave cooking food unattended.
- Use appropriate oils for high-heat cooking to avoid smoking.
- Ensure good ventilation when using gas stoves or prolonged high heat.
Follow standard food-safety guidelines to keep baking safe and enjoyable.